

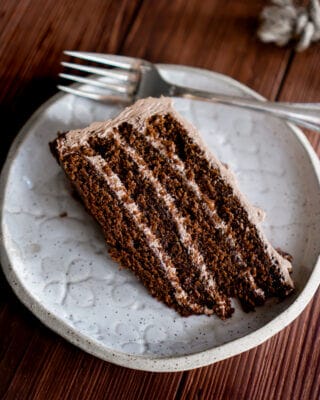
Is there anything tastier than a slice of classic chocolate cake? Nothing fancy, no hidden tricks, just a perfect dessert that never goes out of style! I didn’t think so! This cake has 4 layers of chocolate cake layered with chocolate buttercream icing. It’s rich, moist and makes the perfect cake to end any meal!
Around here, this cake is a favourite in our household and in particular for my Dad. It seems to make many birthday cake appearances for him. But he doesn’t seem to mind!
We spent the weekend up at the lake celebrating my Dad’s birthday and getting the cottage winterized; putting away all the summer toys and packing up the outdoor furniture. I think I’m the only one in the family who actually likes doing this. I love bundling up in a warm sweater and working outside in the cool air, hiking and most of all having the entire family together. This particular weekend is usually the only time of the year that we can actually get all my brothers and their families under the same roof at the same time. How times have changed since my brothers have had children and have become fathers themselves. I love how we all have a place to come together to share traditions and to create new ones.

Ingredients
- All-purpose flour
- Unsalted butter
- Granulated sugar & icing sugar
- Eggs
- Cocoa powder
- Extra strong brewed coffee
- Dark chocolate (good quality chocolate)
- Sour milk (or buttermilk)
- Whipping cream (or milk)
- Baking powder & baking soda
- Pure vanilla extract
- Salt

Tips on How To Build a Layered Cake
If you are trying to build a layered cake that is fresh and hot from the oven you will be sadly disappointed with the results. It’s very difficult to work with a hot, freshly baked cake. So, when it comes to building a layered cake there are a few tricks that will go a long way.
- First, use 2 cake pans the same size (better yet if you have 4 pans). This will help with even baking and ensuring the cakes stay moist.
- Second, once the cakes come out of the oven place them directly in the freezer (right in the pans). This helps with crumb control, will make it easier to cut your cakes in half to create four layers and will be easier to stack and ice your cake.
- Stack and ice your cake right on your cake stand or on a cake board. Whatever you make your cake on that will become its home as you won’t be able to move it once it’s all done. I like to use my revolving cake stand with a cake board then I transfer the cake wherever I like.
- When cutting the cake layers in half, use a large bread or serrated knife (longer than the cake). Cut around all the edges first before slicing all the way through.
- When it comes to icing the cake use a pastry brush to brush off extra crumbs as you work. This will help with keeping crumbs out of your icing. And if your cake layers are frozen you’ll have fewer crumbs to begin with.
- For each layer drop a large amount of icing in the middle of the cake and using your offset spatula push the icing right to the edges so the icing is falling off. This will make icing the sides of the cake easy as you now have lots of icing waiting to be spread. Don’t be shy on the icing!!
- The best tool for icing a cake is a small offset spatula. Don’t try and be perfect, make large swirl patterns throughout to give a rustic feel.

Extra Notes
- If you have any extra icing, you can easily freeze it and use it for other desserts like, cookies, etc. Freeze icing in an airtight container and make sure to label the icing.
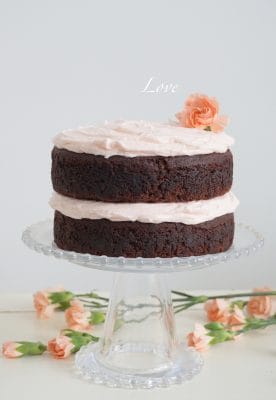
- If you want to make a 2 layered cake instead of 4 layers make sure to half the icing recipe or else you will have a lot of extra icing (enough for another cake)!


Classic Chocolate Cake
This chocolate cake is rich, chocolatey and moist. It’s a classic dessert that never goes out of style and is the perfect ending for any meal.
- Prep Time: 20 mins
- Cook Time: 30 mins
- Total Time: 50 mins
- Yield: 9 inch cake 1x
- Category: Dessert
- Cuisine: French
Ingredients
- 1 cup unsalted butter, at room temperature
- 1 1/2 cups sugar
- 2 large eggs
- 1 teaspoon pure vanilla extract
- 2 cups all-purpose flour
- 1/2 cup cocoa powder, sifted
- 1 teaspoon baking powder
- 1 teaspoon baking soda
- 1/4 teaspoon salt
- 1 1/4 cups sour milk (Add 1 tablespoon of lemon juice to 2% milk, let rest 5 minutes for milk to curdle/sour)
- 1/2 cup extra strong brewed coffee, cooled
Instructions
- Preheat oven to 350˚F. Line two 8-9 inch baking pans with parchment paper and grease the sides of the pan. Set aside.
- In a mixer cream butter and sugar together until light and fluffy. Add eggs, one at a time and beat until well incorporated. Add vanilla.
- In a separate bowl, mix together flour, cocoa, baking powder, baking soda and salt.
- Add dry ingredients to butter mixture, alternating with milk and coffee, making 3 additions of dry and 2 of milk. Mix until incorporated (don’t overmix).
- Divide batter in half and pour into prepared baking pans. Place in the middle of the oven and bake for 30-35 minutes. Let cool on a cooling rack.
- Make chocolate icing while cakes cool (see recipe below).
- Once cake is cool you can ice your cake. You can either do 2 layers or 4. For 4 layers, cut each chocolate cake in half, trying your best to keep an even cut all the way through. Note: if doing 2 layers cut the chocolate icing recipe in half.
- On a cake stand put a little dollop of icing, place your first layer on top and press down. This will create a seal so your cake doesn’t slide around while you ice it.
- Add approx. 1/2 cup of icing on your first layer of cake and smooth out. Add your next layer of cake and repeat with icing until all your layers are stacked and iced. Next ice your top and sides.
Notes
I always build and ice my cakes with (partially) frozen cake layers. This makes it easy to handle the cakes without them breaking and you won’t get as many crumbs in your icing. Just pop your cake layers in the freezer and pull them out when you are ready to ice. See more tips in the blog post.
If building a two layered cake, make sure to cut the icing recipe in half.
Nutrition
- Serving Size: 1 serving of 12 without icing
- Calories: 337
- Sugar: 26.5g
- Sodium: 304mg
- Fat: 17.1g
- Saturated Fat: 10.4g
- Unsaturated Fat: 0
- Trans Fat: 0
- Carbohydrates: 44.4g
- Fiber: 1.6g
- Protein: 4.9g
- Cholesterol: 73mg
Chocolate Butter Cream Icing
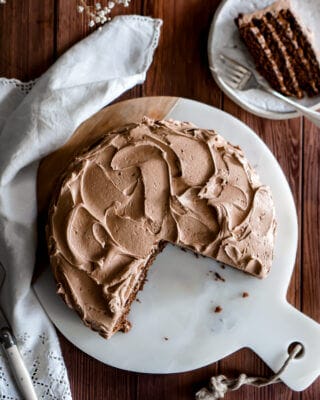
A chocolatey, buttery icing that no one can resist! Simple ingredients and good quality chocolate make all the difference in this chocolate icing.
- Prep Time: 10 mins
- Total Time: 10 mins
- Yield: 5 cups 1x
- Category: dessert
- Cuisine: French
Ingredients
- 1 pound unsalted butter, at room temperature
- 5 cups icing sugar, sifted
- 2 Tablespoons whipping cream (or milk)
- 4 oz dark chocolate, melted (good quality chocolate)
Instructions
- In a mixer with the whisk attachment, whisk butter and icing sugar together, add whipping cream and slowly add melted chocolate until you reach your desired chocolate flavour. Whip until icing is light and fluffy.
Notes
Freeze any extra icing in an airtight container for up to two months.
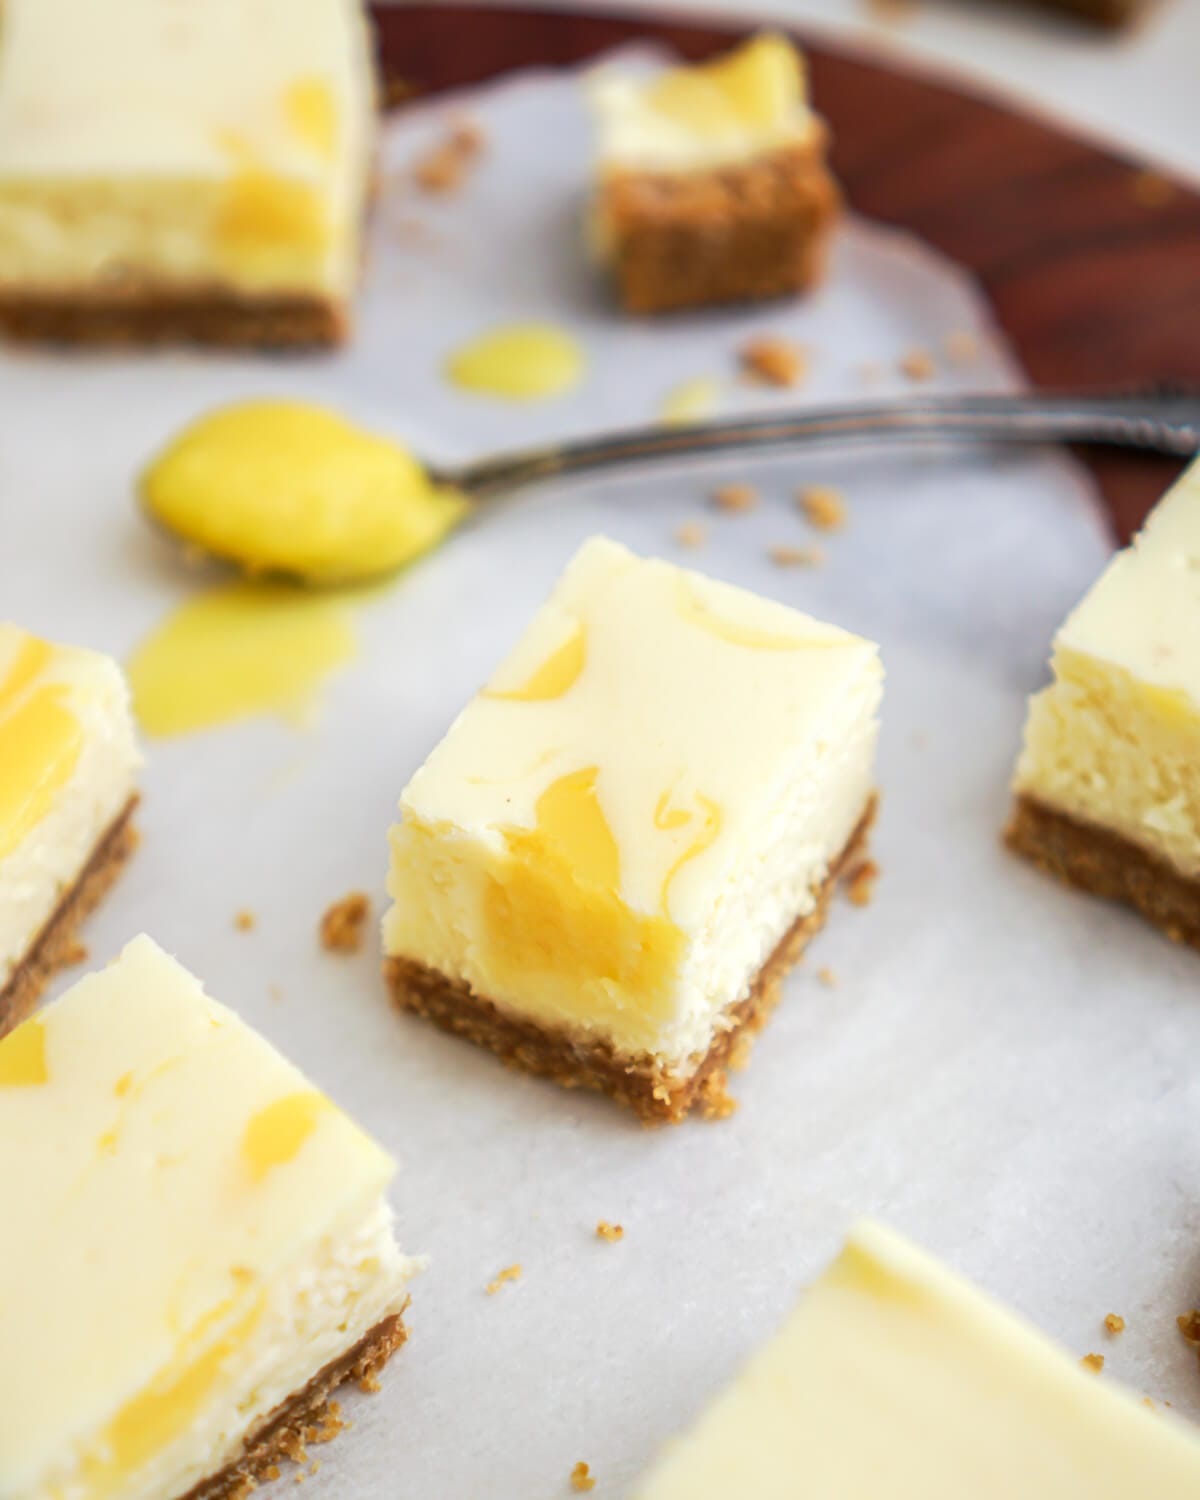
You may also like:


Leave a Rating and Comment!
I love hearing from you! Leave a comment with any questions or how your recipe turned out (your email address will not be published)!
Hello, Alex!
Thank you for the perfect recipe! Delicious! I sent this to my wife!
John
I made this cake for a family birthday. The recipe was easy to follow and it turned out wonderfully! Everyone thoroughly enjoyed the cake!!
This is my go to recipe for chocolate cake and I’ve made it for many different occasions. It looks particularly impressive when you make it in four layers. The icing is absolutely decadent! Although, it makes more than enough so I freeze the leftovers.
That’s great Suzie! Yes, I’d rather you have extra icing than not enough. Freezing it is perfect and you can use it for other recipes on a later day. Happy Baking 🙂
I’ve made this cake for several birthdays and it is always a favourite. So moist, great flavour!
This recipe was delicious! So easy to make and super moist and delicious! It was a hit. Officially my go-to chocolate cake recipe now.
This cake was one of the easiest and moist cake I’ve ever made. I’ve tried other recipes and a lot of them wear dry, but this recipe I have to say was excellent. Moist and Easy…
Thank you for sharing Raj, happy to know you found a chocolate cake recipe that you enjoy! Happy Baking.
Yes Michelle I’m so happy to hear, thank you for sharing 🙂