
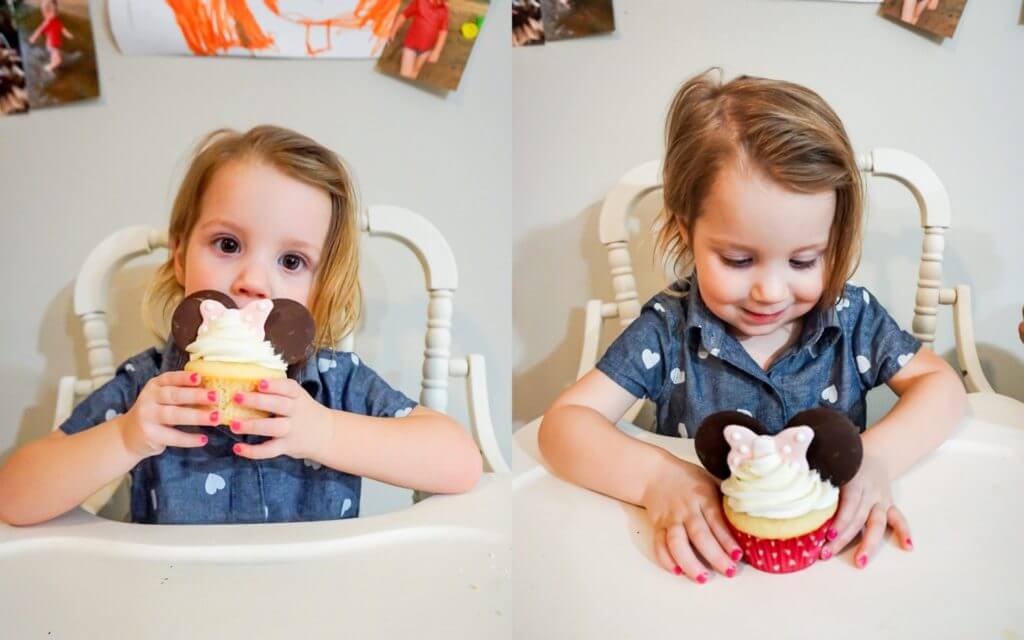
Is there anything more precious than a two year old devouring a cupcake shaped like Minnie Mouse?! I didn’t think so! Especially when you baked them for your little niece’s birthday! I just love her to pieces and it’s such a change of pace to have all these little ladies in the family to bake for. Growing up with all boys and the youngest at that, I’ve mostly spent my time as a tom-boy; playing sports and video games, and watching kung-fu to keep up with my brothers and cousins.
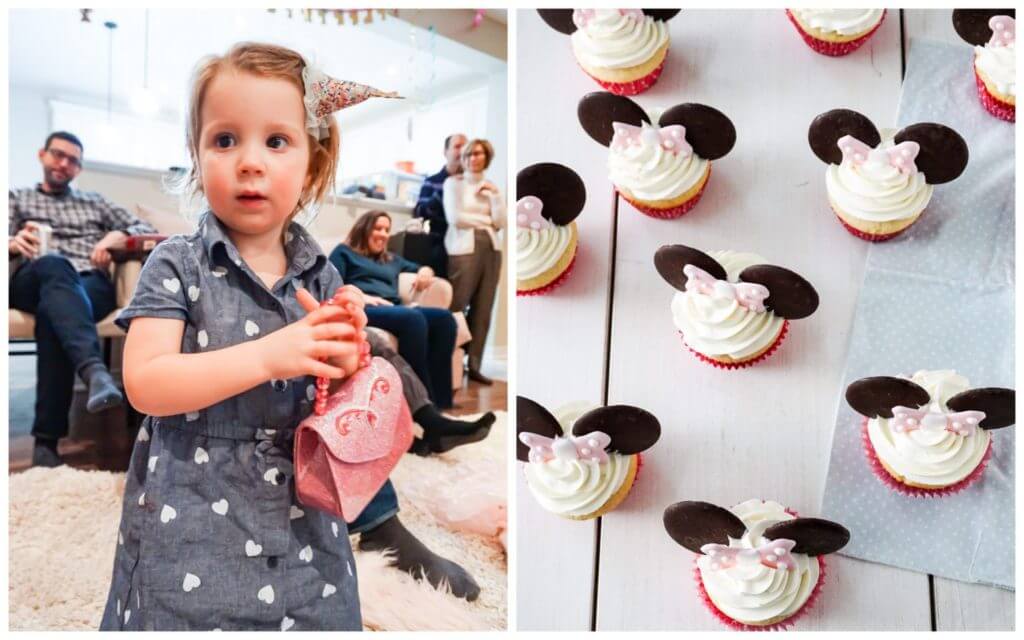
With 3 nieces now, I’m getting to enjoy everything sparkly, pink, frilly and, well girly! My brother’s girls are just that and so much more!! It’s so adorable to see them excited about make-up, bracelets, and purses!
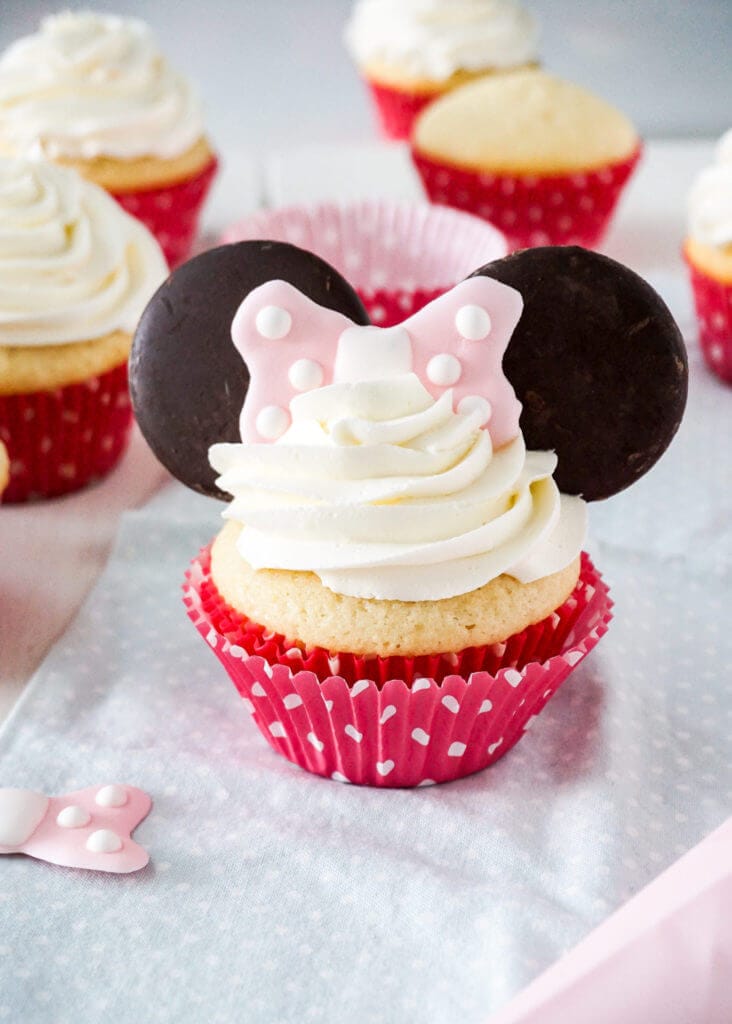
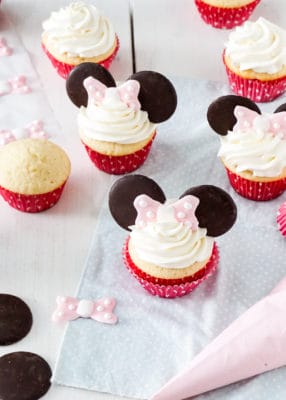
The girls recently just got back from a trip to Disney World so it was fitting to celebrate little E’s birthday with Minnie Mouse cupcakes. It wasn’t difficult to achieve the look, I have to admit it was a lot of work – but well worth it when I saw the look on the birthday girl’s face.
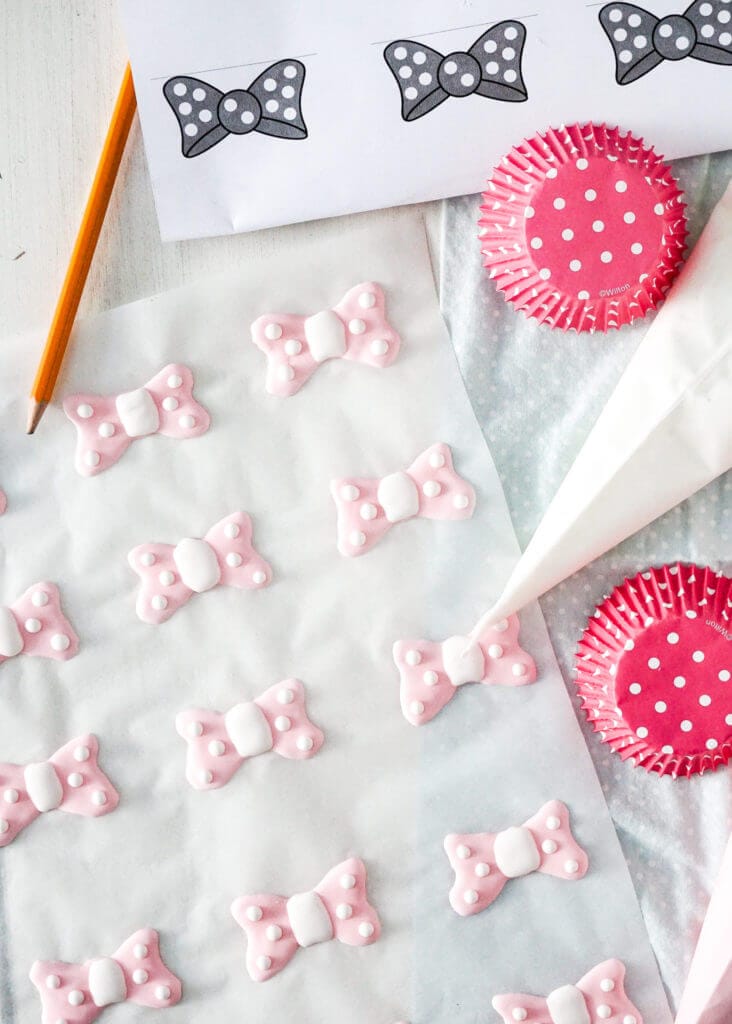
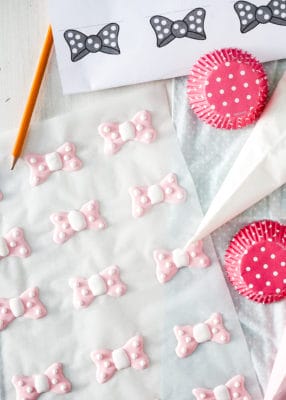
I made the hair bows for Minnie out of royal icing, unfortunately I wasn’t able to find any candy that looked like pretty bows. I noticed online that a lot of people made the bows out of fondant. I’m not very experienced in fondant so I stuck with what I knew. I printed out a template of Minnie Mouse bows off the internet and placed the paper under my parchment paper so I had something to trace the bows. I did this instead of trying to free hand them so they would actually look like bows and all similar. I made sure to do this the night before so they had plenty of time to dry. The funny part, is the kids loved the bows, they ate the chocolate ears and the bows first! All the adults left just that, the ears and the bows, haha!
For the ears I bought the largest chocolate rounds I could find at Bulk Barn, they were all scratched up from sitting in the bin so I took a paint brush and used hot water to smooth the chocolate marks. It’s not necessary but it did help make the mini mouse cupcakes look that much more professional! Hey, if you’re already doing all of this work, why not go all the way and make them perfect?!
My biggest tip is the wrappers.
If you’re not buying cupcake wrappers from a professional baking store best bet is they aren’t grease proof. Meaning when you bake your cupcakes in the wrappers the colours will lose their boldness. All the dots and shapes just end up looking greasy and not pretty. So to try and avoid this use a double layer of wrappers when you’re baking each cupcake. That’s what I did with these polka dot wrappers; 2 wrappers for each mini mouse cupcake.

Minnie Mouse Cupcakes
These vanilla cupcakes are transformed into Minnie Mouse for a fun party. Find sugar candy to add as toppings at your local bulk store or make your own!
- Prep Time: 45 mins
- Cook Time: 20 mins
- Total Time: 1 hour 5 mins
- Yield: 24 1x
- Category: Dessert
- Cuisine: American
Ingredients
- 3/4 cup unsalted butter, at room temperature
- 1 3/4 cups sugar
- 3 large eggs, at room temperature
- 1 1/2 teaspoons pure vanilla extract
- 2 1/2 cups all-purpose flour
- 3 teaspoons baking powder
- 1/4 teaspoon salt
- 1 1/3 cups full milk
Toppings
- 48 chocolate rounds, from a bulk store
- 24 royal icing bows, or sugared bows of some kind
Instructions
- Preheat the oven to 350˚F. Line two muffin tins with cupcake liners and set aside.
- Using an electric mixer cream butter and sugar together until light and fluffy. Beat in eggs, one at a time. Add vanilla.
- In a separate bowl, mix together flour, baking powder and salt until well incorporated.
- Alternate flour mixture and milk to the butter mixture, beat on low speed just until combined.
- Using an ice-cream scoop, scoop equal amounts into each muffin cup.
- Bake for approx. 18- 22 minutes or just until the tops start to spring back.
- Let cool on cooling rack.
- Make frosting (see recipe below).
- Using a star tip, pipe icing on each cupcake, use 2 chocolate rounds for the ears and place a bow in the middle of the ears.
Nutrition
- Serving Size: 1 plain cupcake
- Calories: 381
- Sugar: 29.1g
- Sodium: 91mg
- Fat: 7.6g
- Saturated Fat: 4.4g
- Unsaturated Fat: 0
- Trans Fat: 0
- Carbohydrates: 71.1g
- Fiber: 1.5g
- Protein: 7.6g
- Cholesterol: 39mg
Vanilla Icing
A classic vanilla buttercream icing, that is light and fluffy!
- Prep Time: 10 mins
- Total Time: 10 mins
- Yield: 4 cups 1x
- Category: Dessert
- Cuisine: American
Ingredients
- 1 cup unsalted butter
- 4 cups icing sugar, sifted
- 1/4 cup whipping cream
- 1/2 teaspoon vanilla extract
Instructions
- In a large mixing bowl, using the whisk attachment – whisk butter and icing sugar, slowly add your whipping cream. Whisk until light and fluffy, add vanilla extract.
- Adjust icing to desired taste, by adding more butter, etc.
Nutrition
- Serving Size: 1 Tablespoon
- Calories: 56
- Sugar: 7.3g
- Sodium: 21mg
- Fat: 3g
- Saturated Fat: 1.9g
- Unsaturated Fat: 0
- Trans Fat: 0
- Carbohydrates: 7.5g
- Fiber: 0
- Protein: 0
- Cholesterol: 8mg
Royal Icing to make bows
Make your own sugared hair bow ties to complete Minni Mouse Cupcakes.
- Prep Time: 1 hour
- Total Time: 1 hour
- Yield: 64 1x
- Category: Candy
- Cuisine: American
Ingredients
- 2 egg whites, at room temperature
- 2 cups sifted icing sugar
- 1–2 teaspoons lemon juice or almond extract (optional)
- pink/red food colouring
Instructions
- In a clean, dry bowl of a stand mixer, whisk egg whites until foamy (about 3 minutes), add lemon juice if using.
- Slowly add icing sugar.
- Raise the speed to medium – high until icing is thick and shiny. This should take about 4 minutes (If you feel the mixture is still too runny at this point you can add more icing sugar to help stiffen it up, just add a little at a time).
- Take out about half a cup of the white royal icing, set aside and cover.
- Now add a few drops of food colouring and mix icing until you reach your desired colouring.
- Add icing to piping bags and pipe bows on parchment paper, making 24 and a few extra for good luck!
- Let air dry for at least an hour or two.
Notes
For easy piping of bows, print out a Mini Mouse bow template from the internet. Place under parchment paper and trace the bows with royal icing.
Royal icing is a bit of trial and error to find the consistency that you like (thick or runny).
Rule of thumb is one egg white to one cup of icing sugar. Remember when the icing is runny the icing will spread out.
Also the icing needs lots of time to air dry (I find leaving it overnight is the best).
Nutrition
- Serving Size: 1 bow tie
- Calories: 13
- Sugar: 3.3g
- Sodium: 1mg
- Fat: 0
- Saturated Fat: 0
- Unsaturated Fat: 0
- Trans Fat: 0
- Carbohydrates: 3.3g
- Fiber: 0
- Protein: 0.1g
- Cholesterol: 0
You may also like:


Leave a Rating and Comment!
I love hearing from you! Leave a comment with any questions or how your recipe turned out (your email address will not be published)!