*This blog post contains affiliate links, so we may earn a small commission when you make a purchase through links on our site at no additional cost to you.
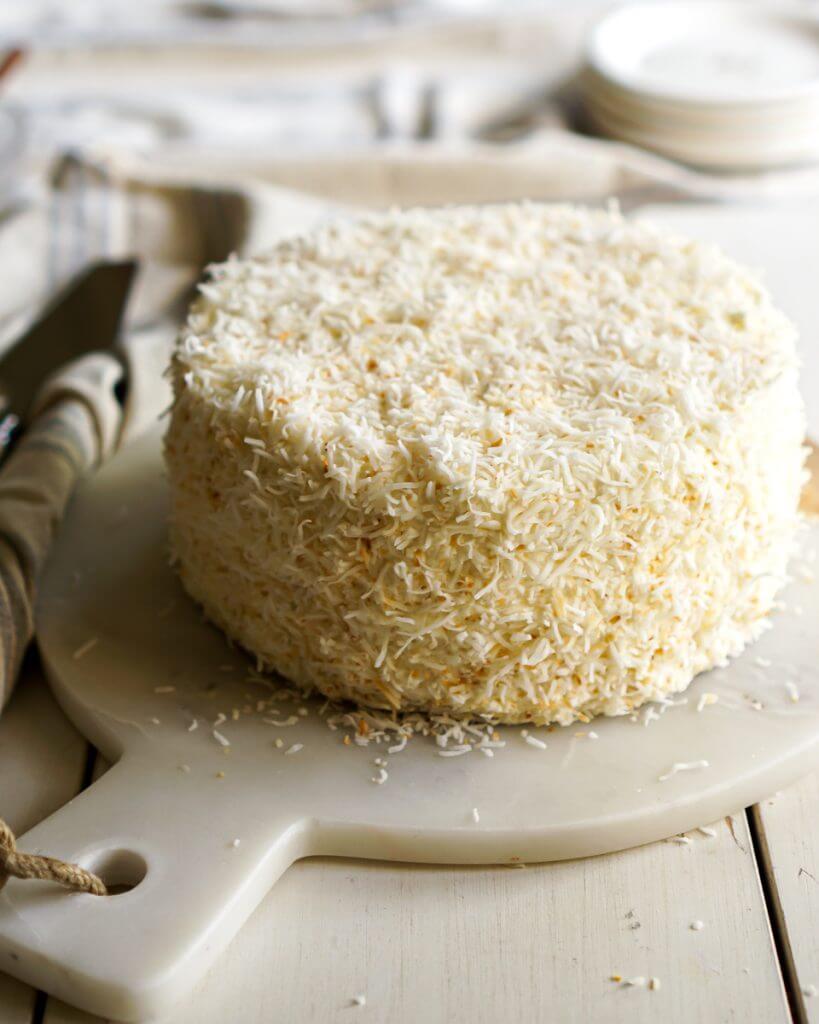
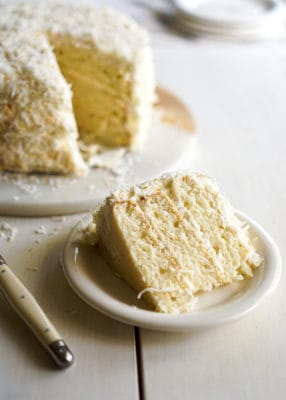
I’ve never been more excited to share a cake recipe than this one! What I love about this cake is how different it is without a lot of extra work involved. It’s everything you want in a cake; moisture, texture and more importantly taste! It’s packed with coconut flavour!
Making a cake is something special that we normally do for a birthday or a celebration. And I bet you’ll make a cake at least once in your life for someone special! No matter what style of cake you make, when it’s made by hand it’s a hundred times better than any store-bought cake! And this my friends, is the best coconut cake recipe to get you started!
Ingredients
- All-purpose flour
- Unsalted butter
- Granulated sugar & icing sugar
- Egg whites
- Sour cream
- Canned coconut milk
- Unsweetened shredded coconut
- Pure vanilla extract
- Coconut extract
- Baking powder
- Salt
Substitution
You can also make this coconut cake dairy free. Simply substitute the 1/2 cup sour cream for 1/2 cup coconut milk and use dairy free butter. The same would apply to making the coconut buttercream icing. Use your favourite dairy free butter.
Make Ahead
You can make the cake layers ahead of time and keep in the freezer for up to 2 weeks. Wrap cooled cakes tightly in plastic wrap and if possible place in an airtight container. If you can’t fit the cakes in a container then wrap them with foil as well.
Tools & Tips On How To Assemble a 3 Layered Coconut Cake
- Line your cake pans with parchment paper rounds. Or cut paper into 9-inch circles by tracing out the bottom of the pan with a pencil. Then grease the side of the cake pans with butter. This is a very important step! You need those layers to be intact and to come out clean from the pan.
- Build your cake on a cake board, right on your cake plate, or use a cake stand turntable with a cake board. There’s nothing worse than building a cake and then trying to figure out how you are going to move it without ruining it!
- When dividing the batter into cake pans, make sure the batter is evenly distributed. This will make for even baking and a level cake. If you have a scale use it.
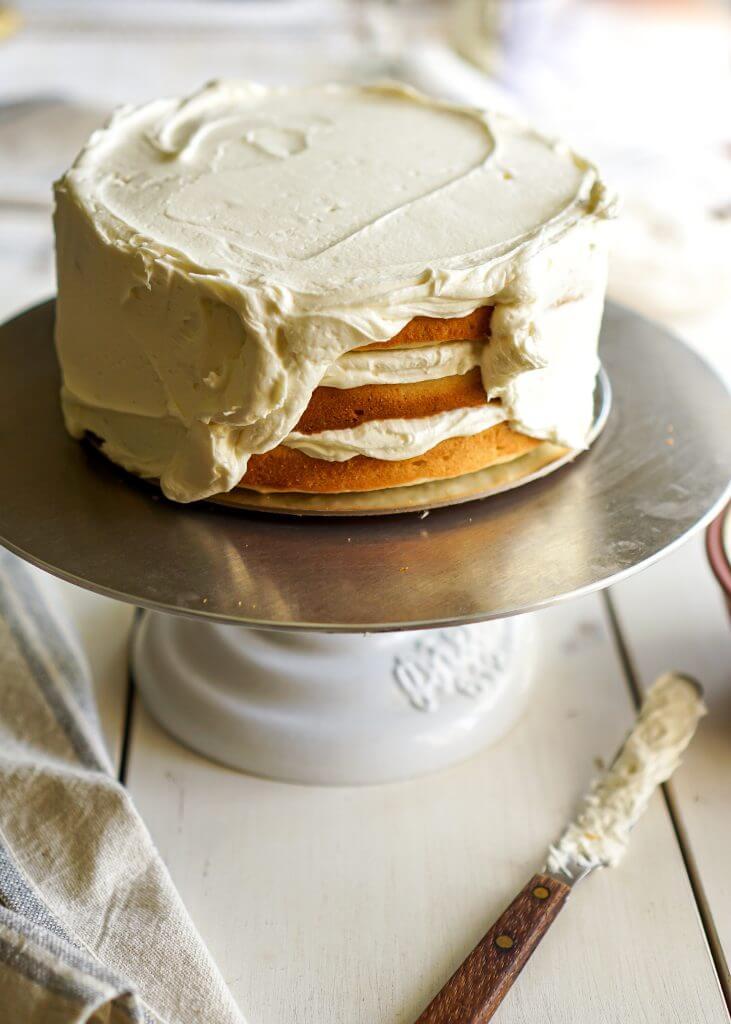
- Don’t skimp on icing between the layers! You want the icing to be falling off the sides. This will help with gaps and make it easier to ice the sides of the cake. And press down gently on each cake layer when stacking the next layer.
- If you have a cake lid use it. It’s best to store the cake on the counter with the lid covering the entire cake. The fridge will actually dry out your cake. If it’s really hot in your house or humid, you may need to store it in the fridge or you risk it going rancid.
Cake Layers
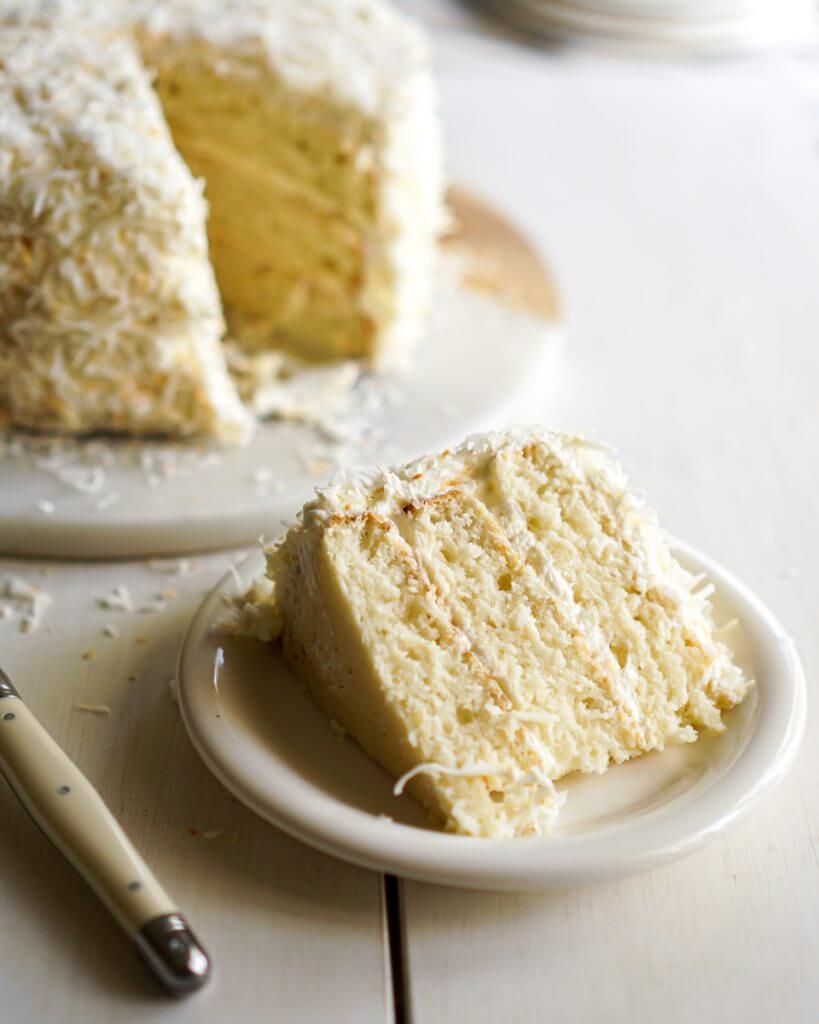
What’s important in this cake is not to skip out on the layers! I know a lot of you out there see three layers and think twice about taking the extra step to make three individual cakes. I highly recommend for the ease of baking at least one beautiful cake in your life you hit the store and buy three nine-inch cake pans. You can find affordable pans at many stores like Homesense, Amazon or Canadian Tire. It’s much easier to bake three individual cakes than it is to cut a cake into three layers, plus this helps from overbaking. The layers help keep that moisture as well as the buttercream icing between each layer, not to mention how lovely the layers look once you cut into that coconut cake!
Building the Cake
Once your three cakes are baked, let them cool for 5 minutes. Then throw them into the freezer (right in the cake pan)! When you’re building a layered cake it’s easier to work with layers that are a little on the colder side. This will help with a few things. One, it will stop crumbs from crumbling all over when you are icing your cake and makes it much easier to spread the icing all around (no one likes to see lumps of cake all over an iced cake or even holes).
This step isn’t a big deal for this coconut cake because we cover the entire cake in coconut. But it’s good to know for future cake making. Two, when the cake is hot or at room temperature, it will be soft and pliable, which means it can easily break as you piece it together or try icing it. When it’s slightly frozen or on the colder side you can easily work with each piece, stack them and ice them.
Icing The Cake
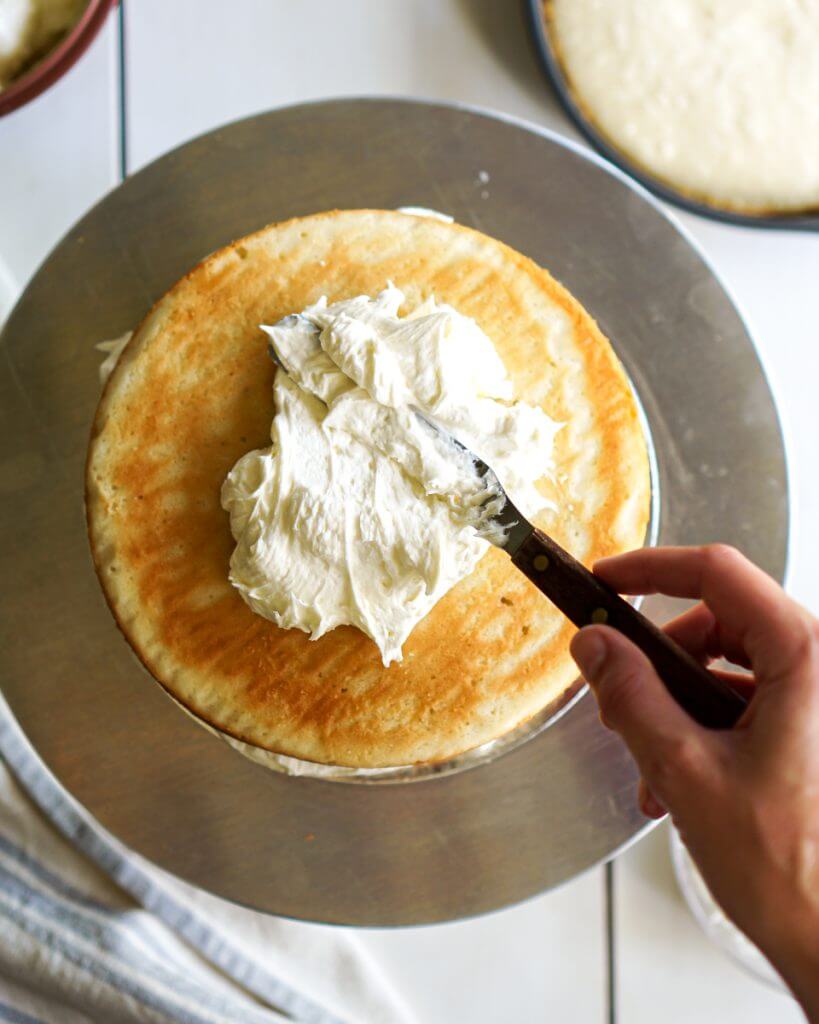
When you’re icing a layered cake, make sure each layer has plenty of icing dropping off the sides. Start icing at the top of the cake and let the icing again drop off the sides (see images for reference). Now use your offset spatula and ice the sides. You’ll have plenty of icing already around the cake which will make it easier to spread. It’s best not to lift your spatula as you ice. Keep strokes in one movement without lifting the spatula until you need more icing. Smooth any extra spots to even out the cake.
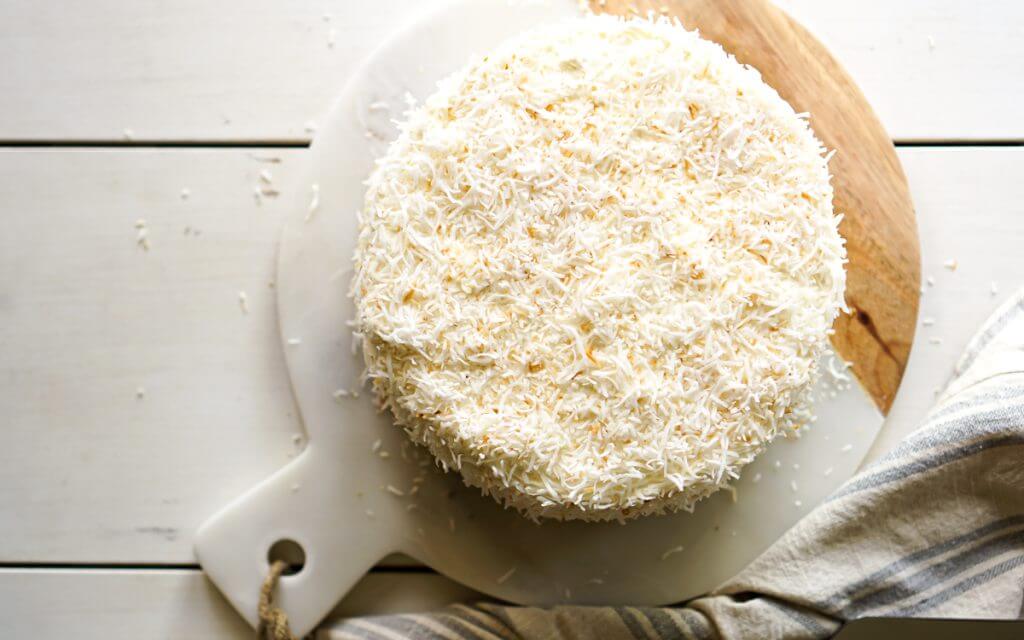
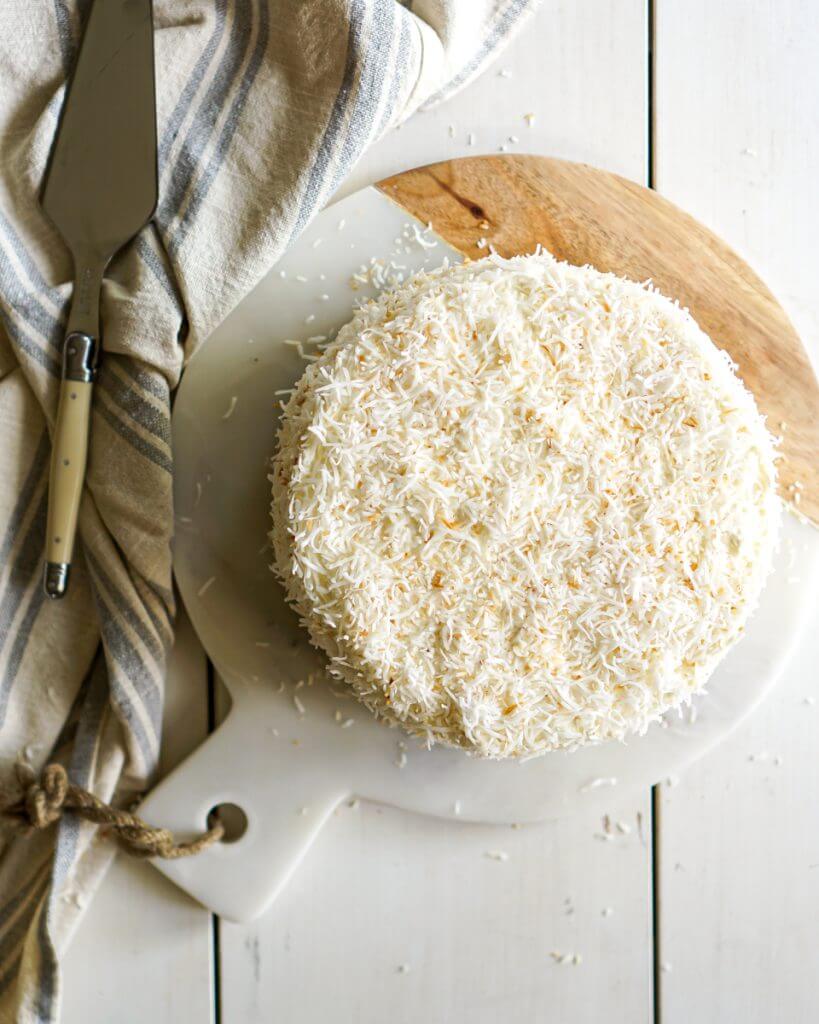
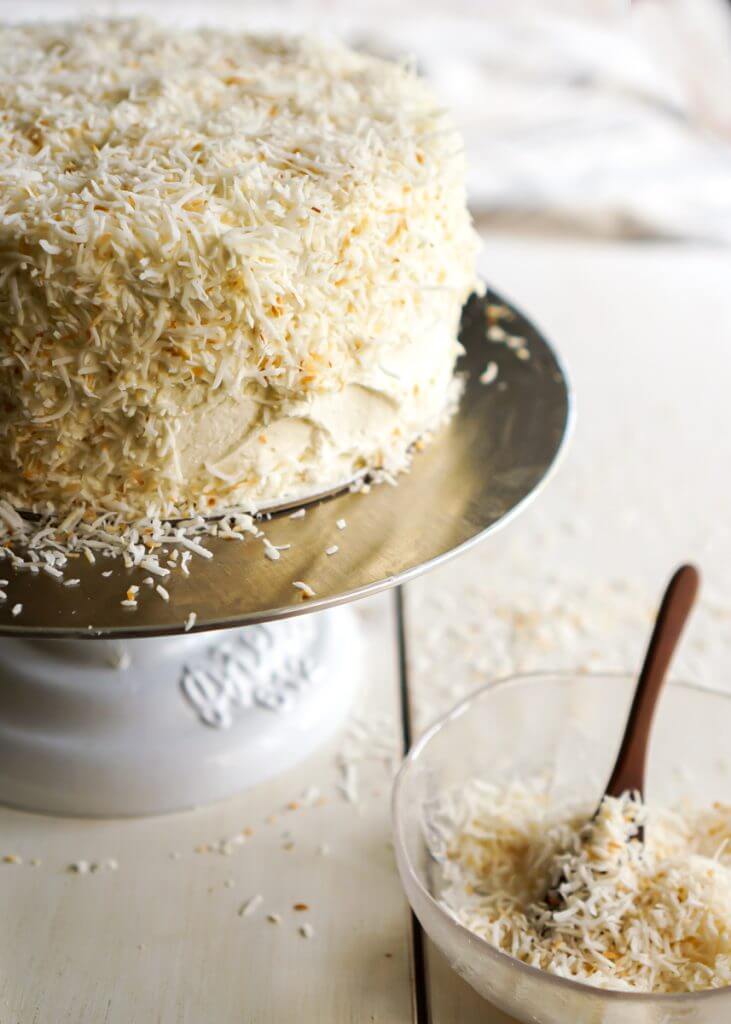
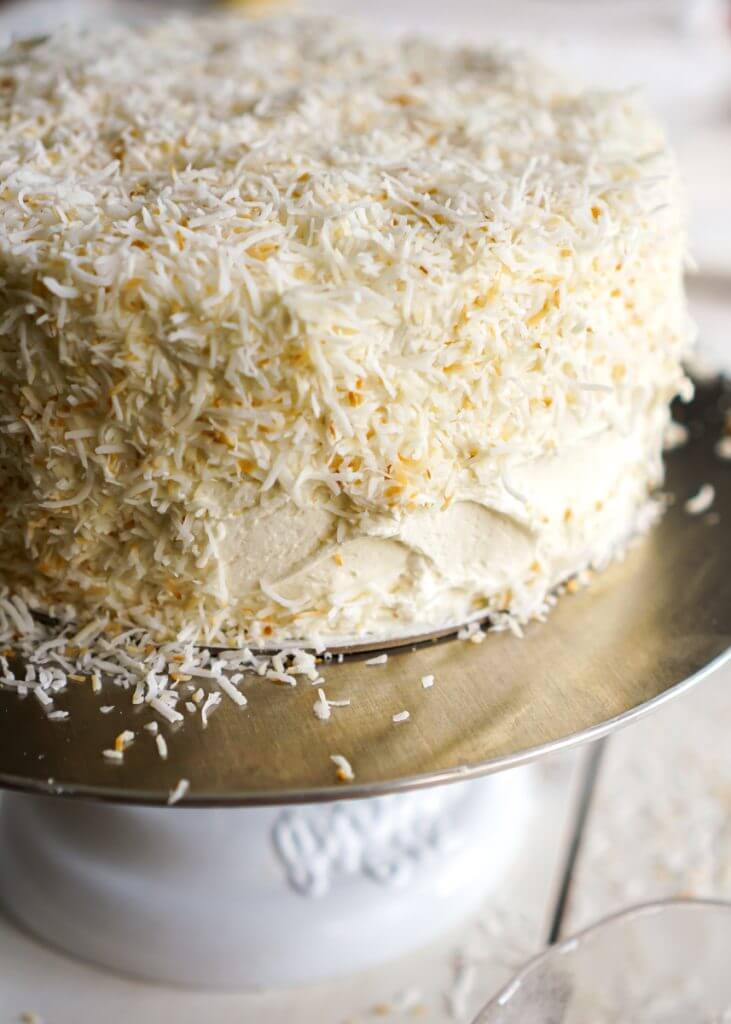
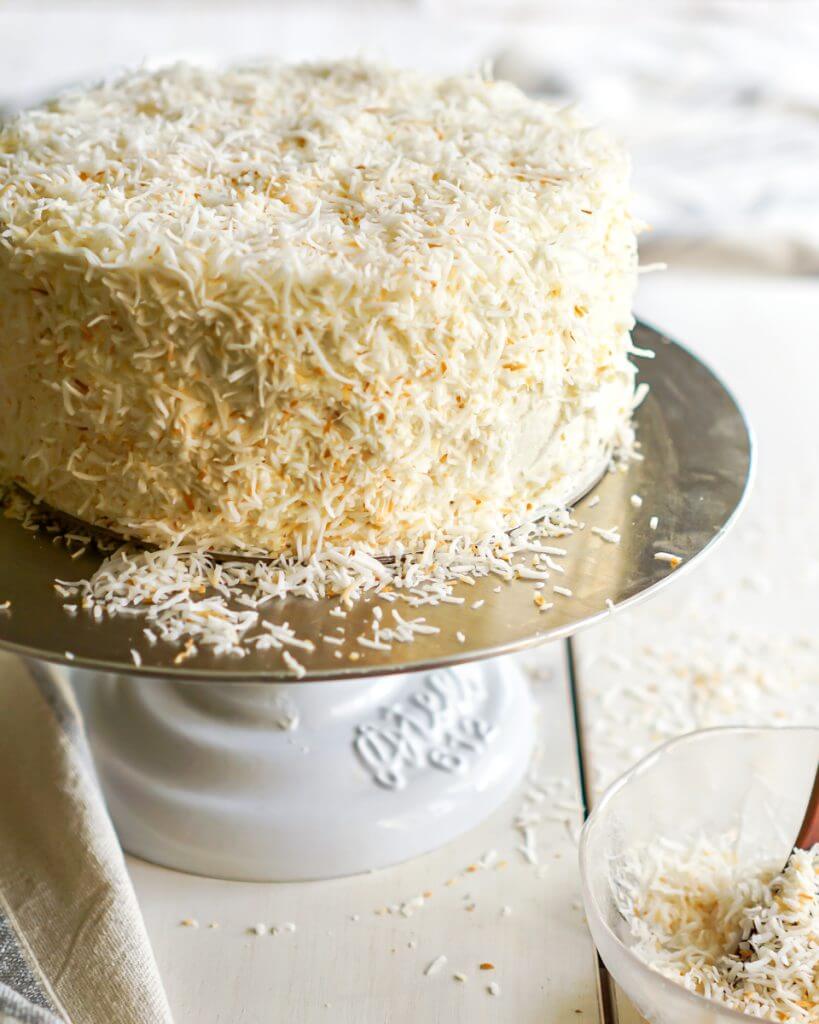
For this recipe, I pressed toasted coconut onto the cake which means the icing doesn’t need to be perfect, but thick enough to be able to press the coconut into. Using the palm of your hand gently press mounds of coconut into the cake. Don’t worry lots of coconuts will fall, just swipe up and reuse. Again start at the top of the cake and work your way down the sides.
More Coconut Recipes You’ll Love
- Marble Coconut Cupcakes
- Coconut Macaroons
- Coconut Cream Squares
- Chocolate Coconut Cake
- Pineapple Coconut Sheet Cake
How to Make a Layered Coconut Cake
Step One: Grease and line 3, 9-inch cake pans. Make your cake batter and equally distribute the batter into the prepared pans. Meanwhile toast your coconut on the stovetop, watching carefully so it doesn’t burn. Once the cakes are fully baked, let them cool for 5 minutes. Then place them straight into the freezer.
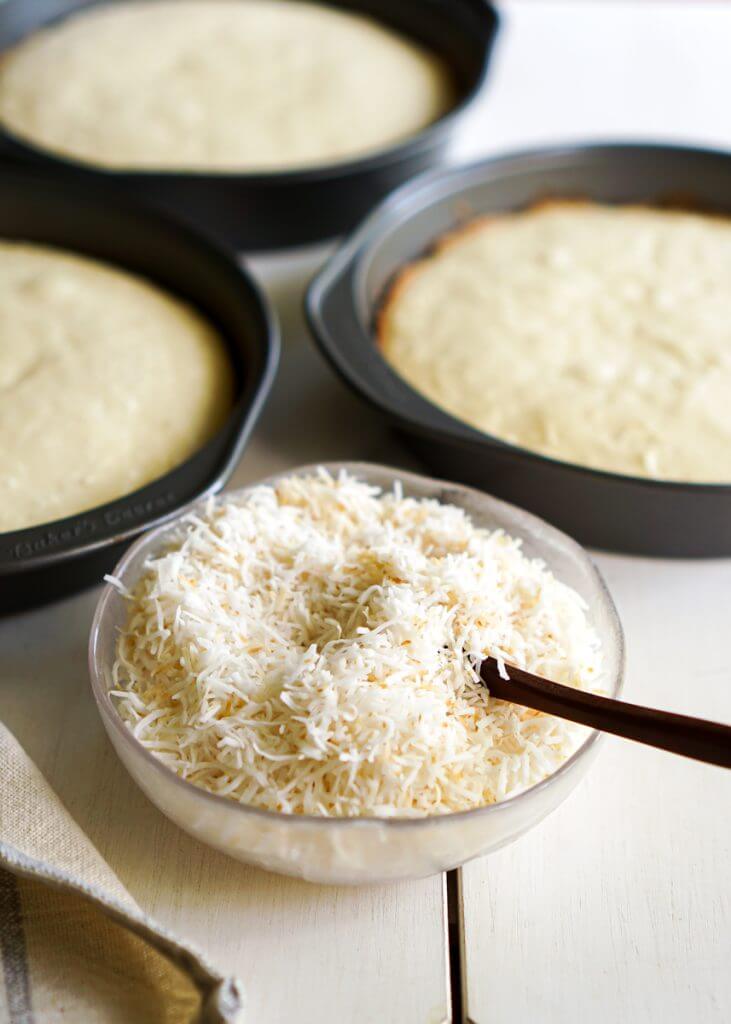
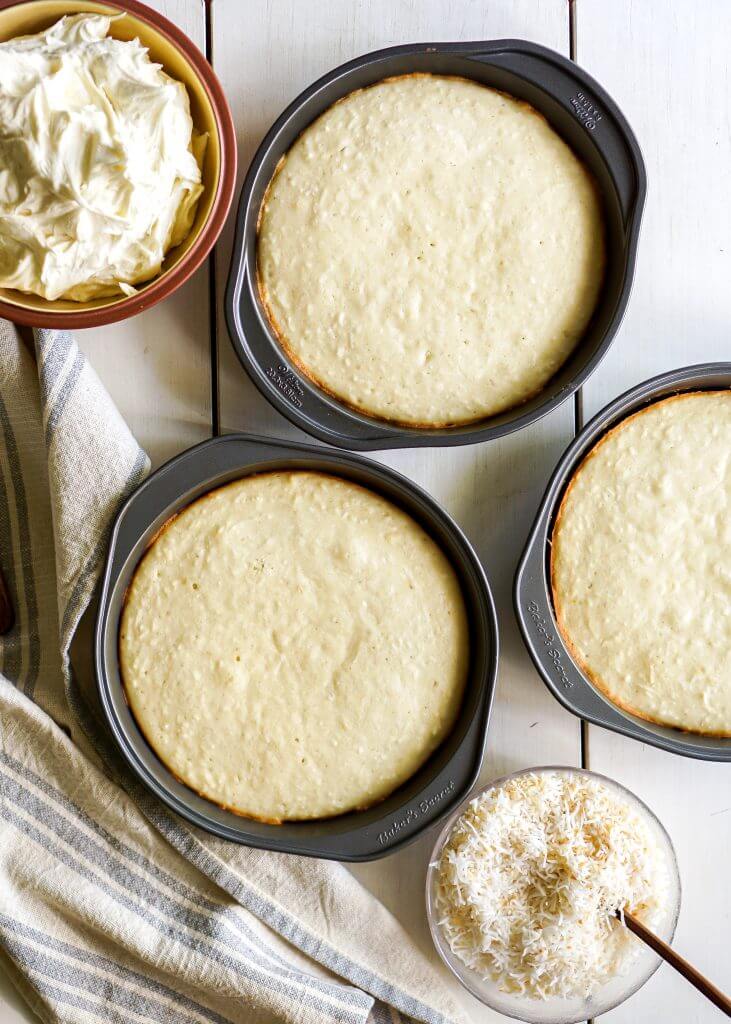
Step Two: Make your coconut buttercream icing. Once cakes are frozen, build your cake. Place a dollop of icing in the middle of the board/cake stand then add your first cake layer. Next, add a heaping amount of icing and spread it out, letting the icing fall over the sides.
Add your next cake layer and ice, letting the icing fall off the sides. Add your top layer and add icing, again letting the icing fall off the sides. Ice the sides of the cake, making sure the icing is even and thick enough to press the coconut into.
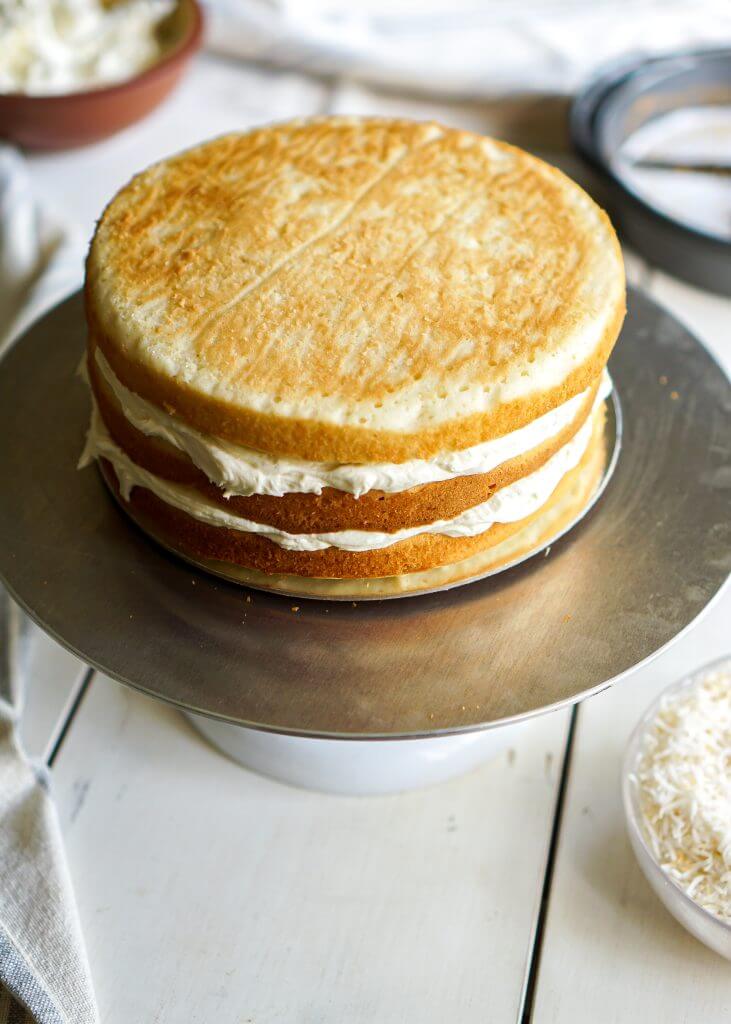
Step Three: Fill your palm with a handful of toasted coconut. Add to the top of the cake and edges, lightly pressing it in. Do this until the entire cake is covered in toasted coconut.
If you have any questions that I didn’t cover please write to me in the comments. And of course, if you’ve made this coconut cake leave a review at the bottom of the page.
I hope this becomes your favourite cake for someone special or your special occasion! Happy Baking!
PrintCoconut Cake
This 3 layer coconut cake is for coconut lovers! It’s super moist with a soft fluffy crumb and has an intense coconut flavour all over! It also makes a show stopping dessert!
- Prep Time: 18 mins
- Cook Time: 25 mins
- Total Time: 43 mins
- Yield: 1 – 9” 3 layer cake 1x
- Category: Dessert
- Method: Baking
- Cuisine: American
Ingredients
Cake
- 2 1/4 cups all-purpose flour
- 2 teaspoons baking powder
- 1/2 teaspoon salt
- 3/4 cup unsalted butter, softened at room temperature
- 1 1/4 cups granulated sugar
- 4 large egg whites, at room temperature
- 1/2 cup sour cream, at room temperature
- 1 teaspoon pure vanilla extract
- 1 teaspoon coconut extract
- 1 cup canned coconut milk, at room temperature
- 1 cup unsweetened shredded coconut
Icing
- 1 1/2 cups unsweetened shredded coconut, toasted
- 1 cup plus 2 tablespoons unsalted butter, at room temperature
- 4 cups icing sugar, sifted
- 3 Tablespoons canned coconut milk
- 1 teaspoon vanilla extract
Instructions
- Preheat the oven to 350˚F. Line three, nine-inch cake pans with parchment paper, and butter/grease the sides. To line the cake pans, using a pencil trace the bottoms of the pan on parchment paper, cut out, and face the pencil side down in the cake pan. Set aside.
- In a large bowl add flour, baking powder and salt. Mix together and set aside.
- In a stand mixer using the paddle attachment, cream butter and sugar together until light and fluffy. Add egg whites and continue to mix until well incorporated. Add sour cream and coconut extract and mix together until incorporated, scrape the sides and bottom of the bowl as necessary.
- Next, alternate coconut milk and dry ingredients into your butter mixture in 2 additions just until incorporated.
- Using a spatula mix coconut into the batter.
- Divide batter equally into your prepared cake pans.
- Place all pans in the oven (on the same rack) and bake for 15 minutes. Rotate pans after 15 minutes and continue to bake for another 10-15 minutes or until a toothpick or a cake tester comes out clean. Note: the cake will be very light in colour, so make sure not to overbake.
- Let cakes cool on a wire rack for 5 minutes then place in the freezer (right in the pans).
- Meanwhile, toast your coconut in a large pan on the stovetop for approx. 5 minutes until fragrant. Remove from heat and place into a bowl to cool.
- Make your icing. In a bowl of a stand mixer using the whisk attachment add icing sugar and butter together, mix on low. Slowly add coconut milk. Raise the speed to high and whip until soft peaks form. Add vanilla extract. Note: add more butter for a creamier icing with less sweetness.
- Toast your coconut. In a large saucepan on medium to low heat, add coconut and toast, stirring occasionally until light brown. Remove from the heat, place the coconut in a bowl to cool and set aside.
- Build your cake. Take cakes out of the freezer and remove them from cake pans (and parchment paper on the bottoms). Dust any crumbs off the cakes.
- Build your cake on a cake board or right on your cake stand. Place a dollop of icing in the middle of the board/cake stand. This is to keep your cake in place. Add your first cake layer. Next, add a heaping amount of icing and spread out over the cake, letting the icing fall over the sides.
- Add your second layer and ice, letting the icing fall off the sides again. Add your third layer and add icing, again letting the icing fall off the sides.
- Ice the sides of the cake, making sure the icing is even and thick enough to press the coconut into the sides.
- Fill your palm with a handful of toasted coconut and add to the top of the cake and edges, lightly press in. Using your palm again fill with more coconut and lightly press coconut around the edges of the cake.
- Enjoy on its own or with ice cream.
Notes
Shake the coconut can before using.
The cake will last 3-4 days. Cover the cake with a cake lid and store at room temperature, or in the refrigerator during hotter weather.
See blog notes for tips and tricks on how to build a layered cake.
Nutrition
- Serving Size: 1 serving of 12
- Calories: 735
- Sugar: 62g
- Sodium: 318mg
- Fat: 43.8g
- Saturated Fat: 31g
- Unsaturated Fat: 0
- Trans Fat: 0
- Carbohydrates: 84.2g
- Fiber: 3.6g
- Protein: 5.6g
- Cholesterol: 76mg
FAQ’s
Yes, unsweetened shredded coconut is raw coconut that has been grated, boiled and then dried. It can also be found sliced, shaved or grated.
Yes, you can make a 3 layer cake into 2 layers. If you only have 2 cake pans you can easily adapt to making 4 layers or 2. Watch your bake time as it will differ, depending on the pan size and how much batter is filled into each pan.
The best way to store a cake for optimal freshness is at room temperature and by using a cake dome. The refrigerator will actually dry out your cake faster. If it’s really hot in your house or humid, you may need to store it in the fridge or you risk your cake going rancid.






Leave a Rating and Comment!
I love hearing from you! Leave a comment with any questions or how your recipe turned out (your email address will not be published)!
So with the coconut milk is it in a can? If so is it the thick top layer or the liquid part? Thank you. Please answer
Hi Jaden, I used the liquid part from the coconut can. You can give the can a good shake first and then use what pours out. Hope that helps, if you have anymore questions yet me know. Happy Baking 🙂
Soooo good 😍
I made this coconut cake recipe as the first baked good I’ve baked in a LONG time. The recipe was simple, easy to follow, and the results were delicious! Will definitely be making this again ♥️
That’s so great to hear Amanda, thank you for sharing 🙂