

What’s great about this versatile dessert, is it can be customized to your liking and is a great option when you want to whip up a quick and stunning dessert! This is a perfect treat for a special dinner party, an event, or when unexpected guests come by.
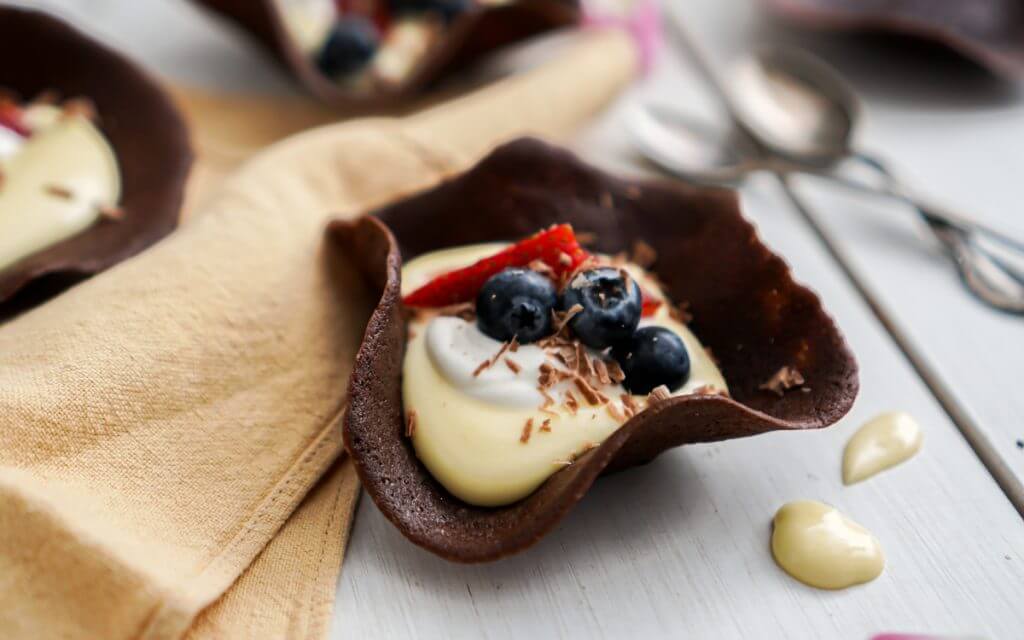
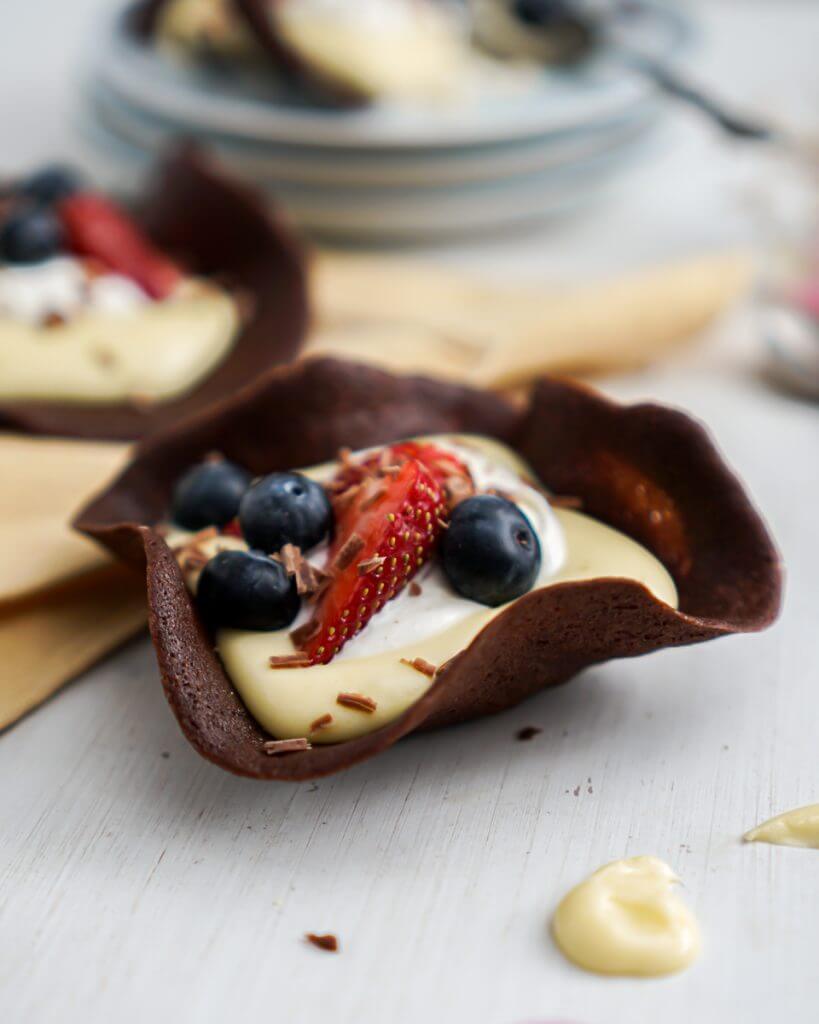
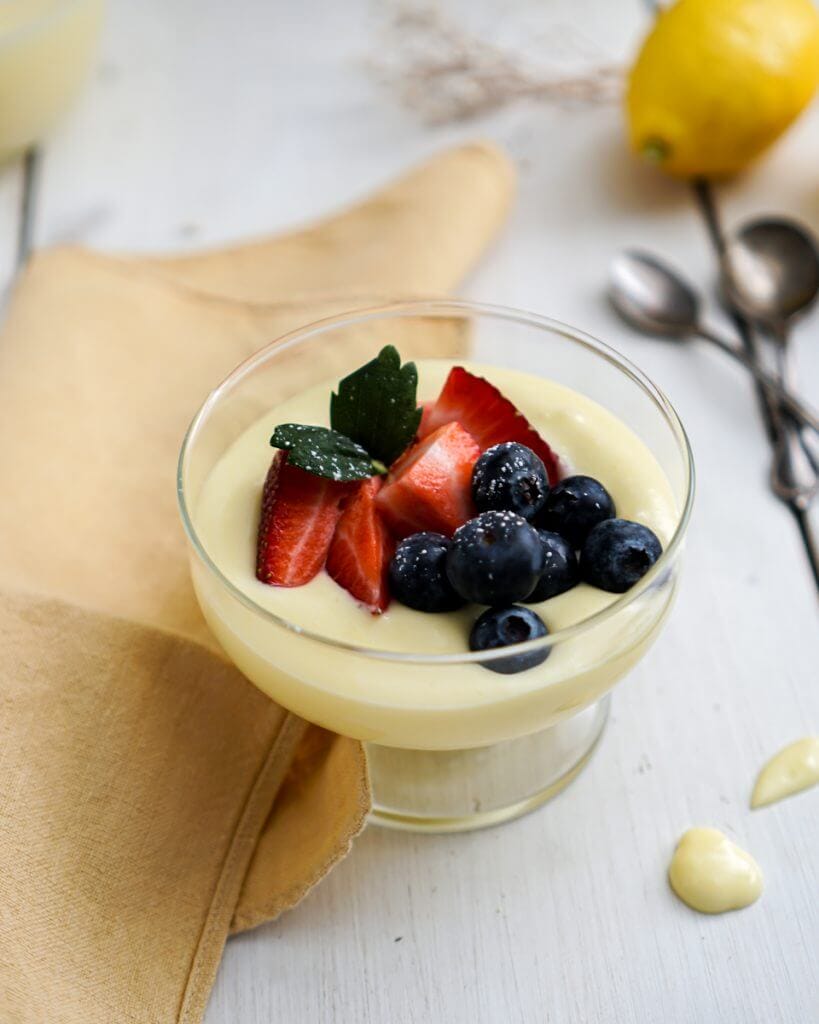
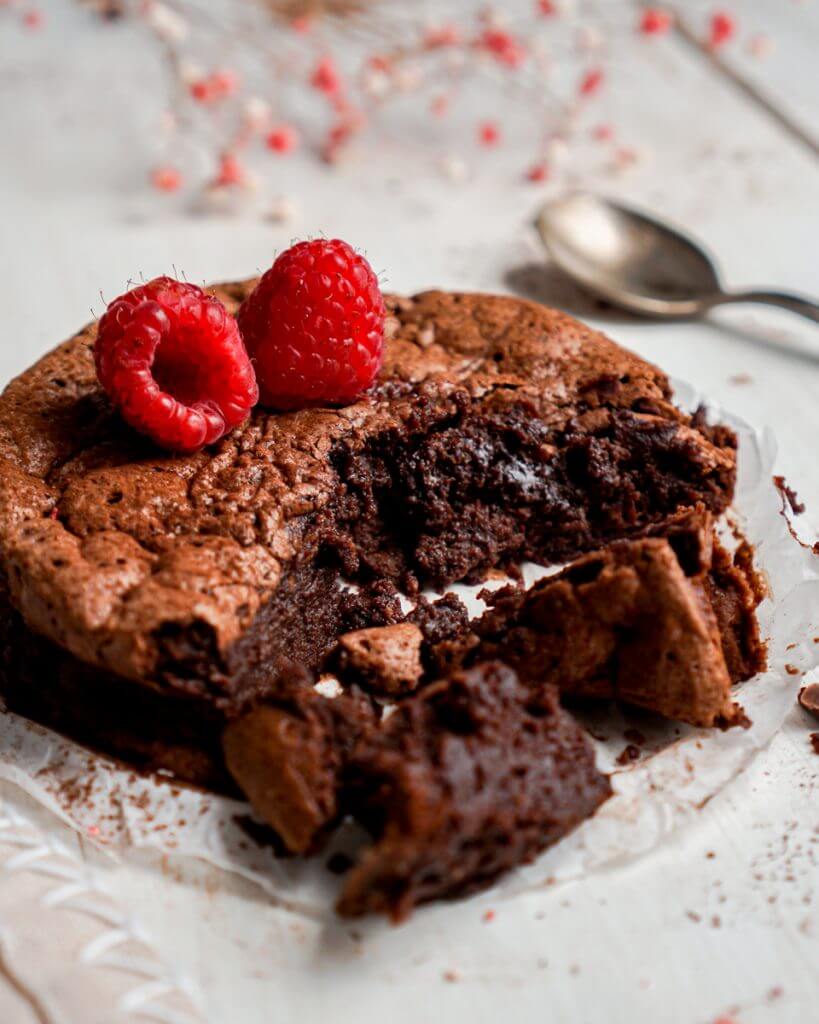
These homemade chocolate cups are crisp, rich, and super chocolatey and are the perfect individual size to serve your guests. They also make a cute and fun build your own dessert station. Place out a selection of fillings like custards, puddings, or ice cream and then have extra toppings like nuts, fruit and sauces. Let your guests decide how to build their own!
Ingredients
- Granulated sugar
- All-purpose flour
- Dark cocoa powder
- Egg whites
- Unsalted butter
- Good quality dark chocolate
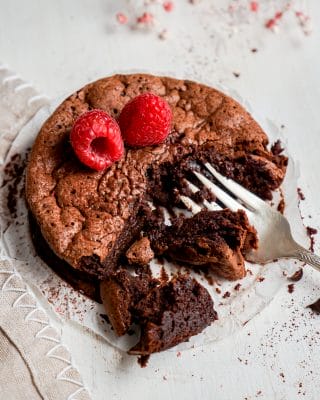
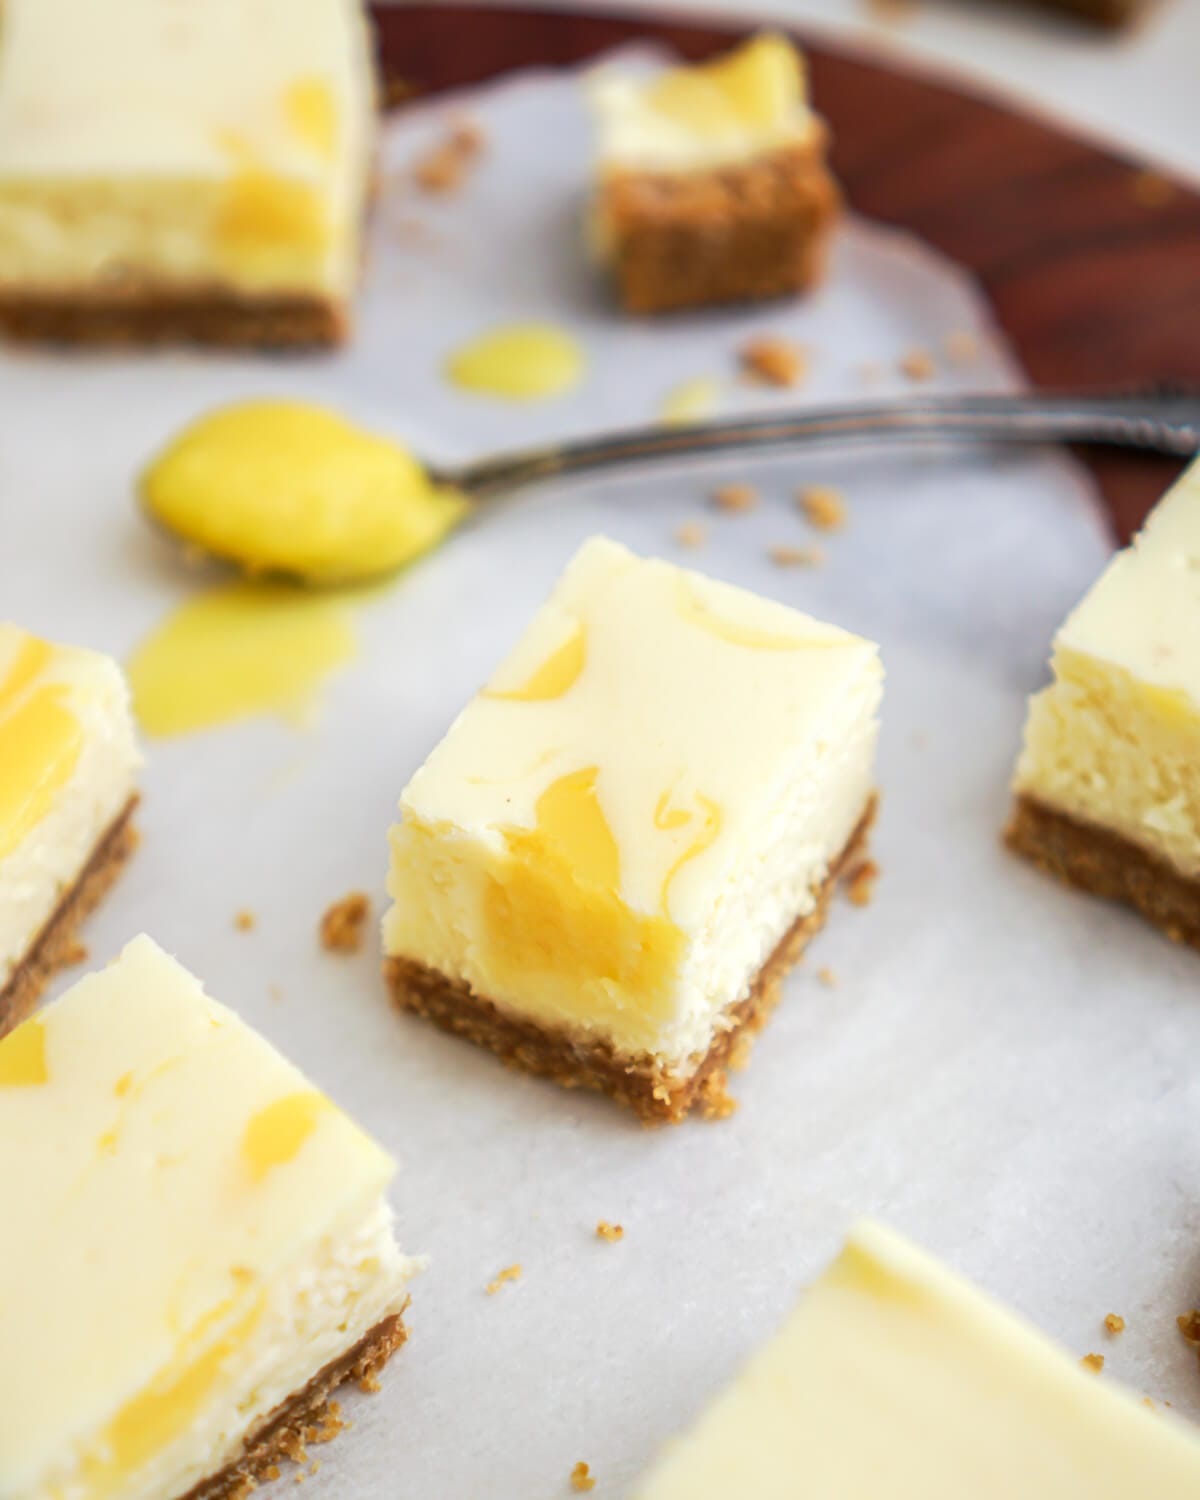
Filling Suggestions for Chocolate Wafer Cups:
- Ice cream
- Whipping Cream
- Pudding
- Custard
- Lemon Cream
- Lemon Curd
- Fruit; fresh strawberries, blueberries, blackberries, figs, etc.
- Nuts; macadamia, peanuts, pistachios, etc.
- Sauces; caramel, chocolate, raspberry, etc.
Make Ahead
These homemade chocolate wafer cups can be made well in advance making them a great last minute dessert idea. The tricky part is storing the cups without breaking them. Store chocolate cups in an airtight container at room temperature for up to 3 weeks or freeze chocolate wafer cups for up to two months.
Tips to Make Perfect Homemade Chocolate Wafer Cups
- Use good quality chocolate to coat your wafer cups.
- When coating the wafer cup with chocolate make sure to brush a large enough space in the cup. The main reason for the chocolate coating is to act as a barrier between the wafer and the filling. This protects the wafer cup from getting soggy and falling apart. If you miss any spots or don’t make a large enough space then it doesn’t help protect the wafer.
- Use an off-set spatula to spread out your chocolate circles. This tool makes life a whole lot easier!
- Careful not to spread the chocolate wafers too thin. If you can see the parchment paper underneath you’ve gotten it too thin. At the same time you don’t want too thick of a wafer cup as it won’t crisp up nicely.
- Watch the oven carefully when baking your wafers, as they can easily burn.
- Don’t try and bake too many wafers at once. It’s easier to bake approx. 4 wafers at a time. This will give you enough time to remove the hot wafers and place them over the glasses before they cool and start to harden.
- Get your glasses out well in advance and have them ready for when your wafers come out of the oven. Timing is very important in shaping your chocolate wafer cups.
- Bake cookie sheets one at a time. Don’t try and bake two cookie sheets at one time in the oven. Timing is very important in making these cups and you only have a couple of minutes to work until the wafers start to firm up. You only want to work with approx. 4 hot wafers at a time.
How To Make Homemade Chocolate Wafer Cups
Step One: Make your batter; whisk together sugar, flour and cocoa powder. Add egg whites and melted butter and whisk until the batter is smooth and well incorporated.


Step Two: Drop 2 teaspoons of chocolate mixture onto a prepared cookie sheet inside each circle. Using an off-set spatula spread out evenly inside each circle.


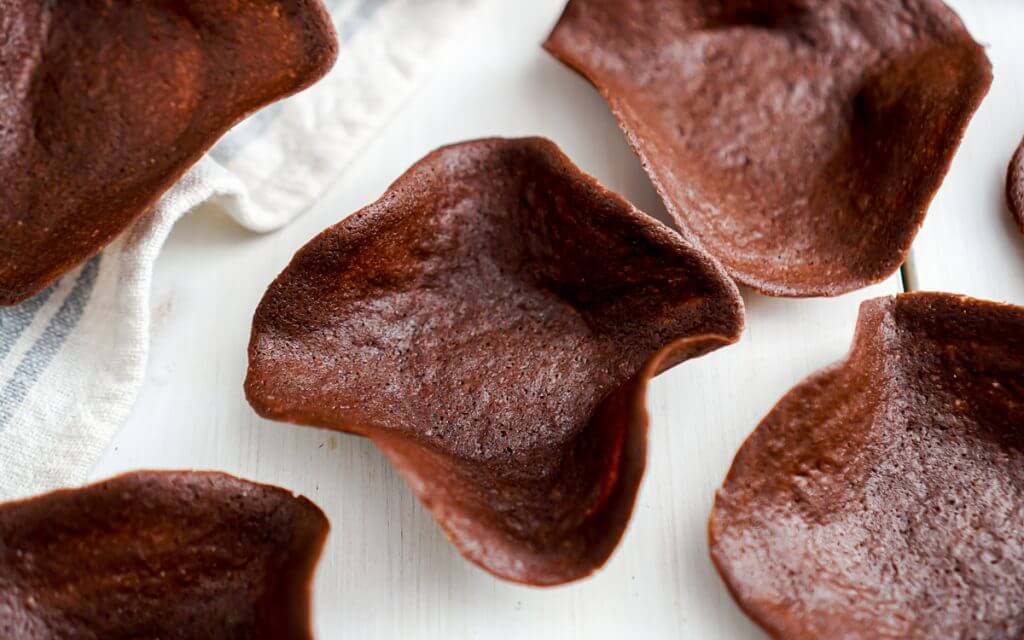
Step Three: Once chocolate wafers have baked, working quickly and carefully remove them from the baking sheet one at a time and place them top side down on top of your glasses. Mold to give wavy edges, be very gentle. Let chocolate wafers stand until firm approx. 5 minutes.


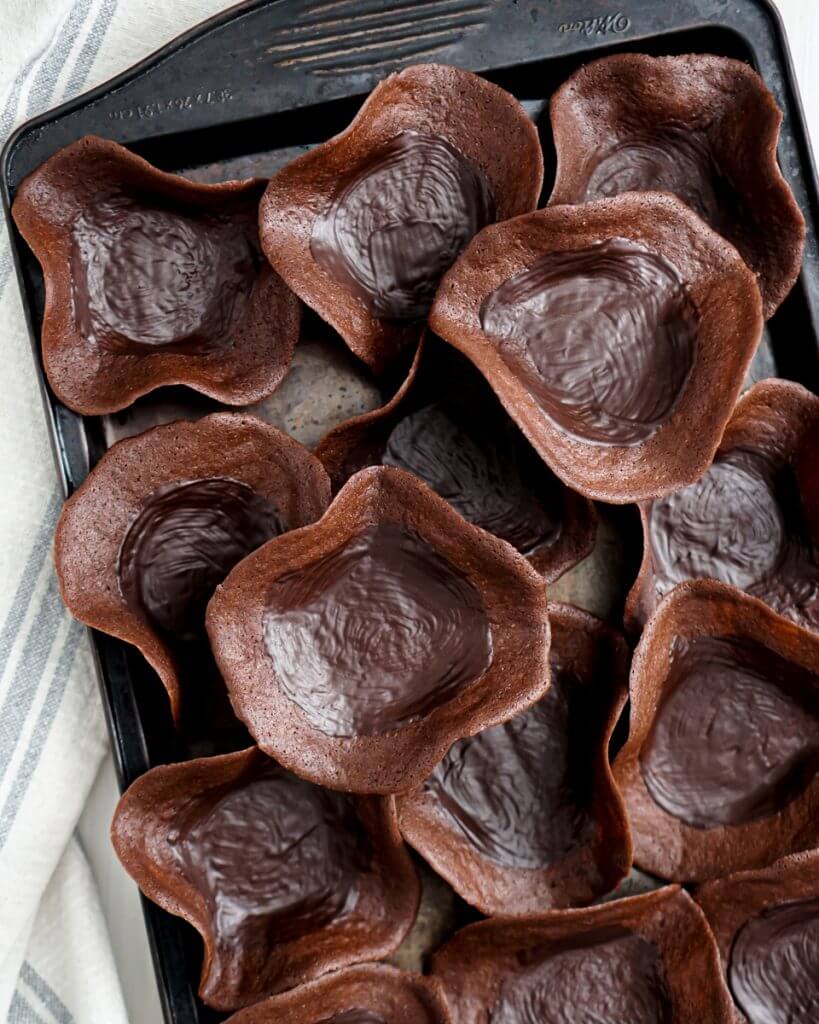
Step Four: Melt chocolate in a small heat safe bowl.


Step Five: Using a small pastry brush, coat the inside of the cups leaving about half to one inch from the edges. Let the cups dry to set.


Homemade Chocolate Wafer Cups
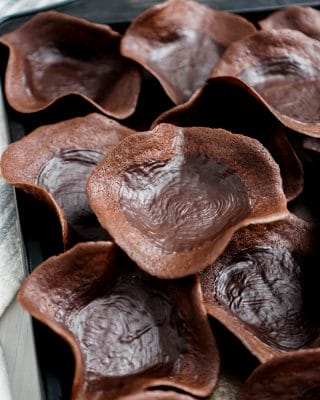
Homemade chocolate wafer cups are fun, easy and make a super impressive dessert! These make ahead treats are essentially mini chocolate bowls that can be filled with a variety of fillings like ice cream, whipped cream, pudding, custard or fruit.
- Prep Time: 10 minutes
- Cook Time: 6 minutes
- Total Time: 16 minutes
- Yield: 14 1x
- Category: Chocolate
- Method: Baking
- Cuisine: American
Ingredients
- 1/2 cup granulated sugar
- 1/4 cup plus 2 Tablespoons all-purpose flour, sifted
- 2 Tablespoons dark cocoa powder, sifted
- 2 large egg whites, at room temperature
- 1/4 cup unsalted butter, melted
- 1/4 cup dark chocolate, good quality (I use Lindt Chocolate), melted
Instructions
- Preheat oven to 375˚F.
- Line 2 large cookie sheets with parchment paper. Trace 5 inch circles onto the parchment paper and flip the paper over so the pencil side is facing down, set aside.
- Set out small glasses or bowls that you can use to shape your wafers (I used small Moroccan tea cups).
- In a mixing bowl combine sugar, flour and cocoa powder. Whisk to combine.
- Add egg whites and melted butter, whisk until smooth and well incorporated.
- Drop approx. 2 teaspoons of mixture onto a prepared cookie sheet inside each circle. Using an off-set spatula spread the batter out evenly inside each circle.
- Bake for 5-6 minutes, watching carefully as they burn fast.
- Once baked, let the wafers sit for approx. 30 seconds. Then working quickly and carefully remove them from the baking sheet one at a time and place top side down on top of your prepared glasses (make sure your glasses are upside down). Mold to give wavy edges and be very gentle (if the chocolate cup cracks, gently press together with your fingers). Let chocolate wafers stand until firm, approx. 5 minutes.
- Continue until all the chocolate wafers have been baked.
- Make your chocolate coating. To make your chocolate coating melt chocolate in a small heat safe bowl. Using a pastry brush, coat the inside of the cup leaving about half to one inch from the edges.
- Let cups air dry or refrigerate for 20 minutes until the coating is set.
Notes
Store chocolate cups in an airtight container or a tin at room temperature for up to 3 weeks or freeze chocolate wafer cups for up to two months.
Nutrition
- Serving Size: 1
- Calories: 75
- Sugar: 1.6g
- Sodium: 45mg
- Fat: 6g
- Saturated Fat: 3.4g
- Unsaturated Fat: 0
- Trans Fat: 0
- Carbohydrates: 4.1g
- Fiber: 0.6g
- Protein: 1.7g
- Cholesterol: 39mg
FAQ’s
Yes, you can easily swap out the all-purpose flour for your favourite gluten-free flour. Stay away from using almond flour as it does not have enough structure to hold the cups together.
Chocolate wafers have a long shelf life when stored properly. They will last up to 3 weeks at room temperature or up to 2 months in the freezer. Keep chocolate cups in an airtight container and away from heat.
Chocolate wafer cups can be made one to two weeks in advance. They are a great make ahead option for a fun and different dessert.
You may also like:


Leave a Rating and Comment!
I love hearing from you! Leave a comment with any questions or how your recipe turned out (your email address will not be published)!