

The weather is getting colder here in Toronto and soon the ground will be covered in snow. It gets harder and harder to go outside to run daily chores, at least it is for me. I’d rather stay inside where it’s warm and bake my own bread instead of making the trek to the bakery (which honestly, isn’t that far).
I love making bread on a quiet Sunday afternoon, it doesn’t happen very often but I’d like to start making a habit of it. It’s really not that difficult; more so about learning how to manage time. Once that part is mastered you can start getting more creative in the bread making department! It’s actually a really fun creative process and is great to get kids involved. The rising of the dough is pretty magical and it’s crazy to think what a little flour, yeast and water can do. The rest is technique and flavouring and that will come with time and experience.
I’m definitely not there myself but we can learn together. I took the ‘Art of Baking Bread’ in school many, many years ago. I remember having so much fun in class and trying new breads that I’ve never even thought about trying to bake. I’ve learned there are a few important tips when it comes to making bread, like I said I’m no bread baking wizard but what I’ve learned I want to share with you so we can do it together.
Bread Making Tips
{TIP} If you don’t have bread flour and want to start making bread more often, that’s a good place to start. Almost any bread recipe can be done using all-purpose flour but to really get the perfect bread you need the perfect ingredients! The difference between bread flour and all-purpose flour is the protein. Bread flour contains more protein which helps with gluten development (a higher rise and chewier bread). I don’t buy bread flour as it is just another ingredient sitting in my cupboard taking up space. But since I’d like to start making bread more of a habit, I will definitely invest in some and see if it makes a big difference.
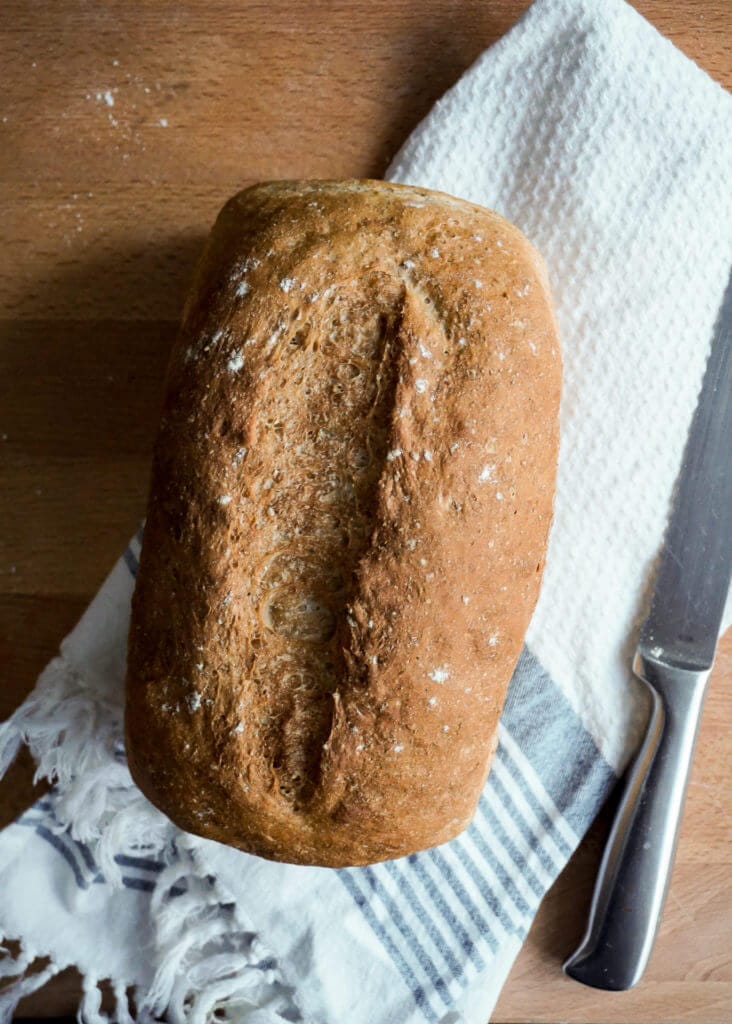
{TIP} This whole wheat bread was done with regular all-purpose and whole wheat flour and I was very happy with the results. Another tip to get that crusty crust is to have steam in the oven. In order to achieve this I put my cast iron skillet in the oven on the bottom rack (to get nice and hot). I place my bread on the middle rack and add a little cold water to the cast iron and quickly close the oven door to keep the steam inside. I’ll add more water one more time during the baking or spray the sides of the oven with cold water again. This will give you a nice crusty loaf.
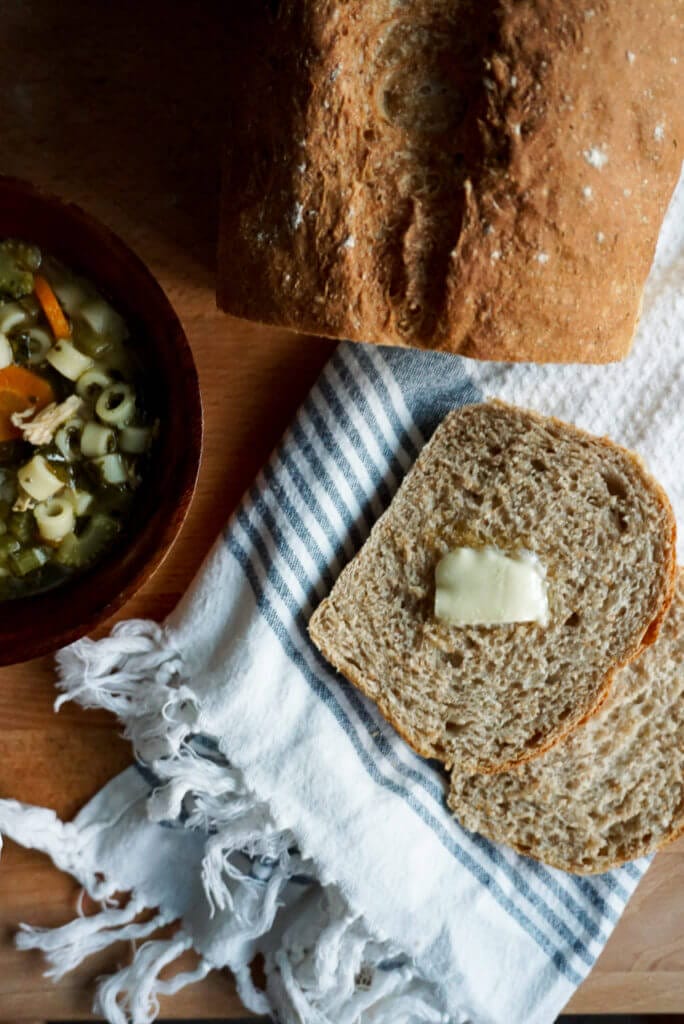
This will be an exciting winter filled with lots of little projects I say I want to accomplish; making more bread, knitting, taking wine classes and learning to macrame, plus I’d like to learn french! At least I’ll be warm inside and continuing to learn. On a side note, I enjoyed this whole wheat bread with butter and honey first thing in the morning and for dinner I dunked it in homemade turkey soup; healthy, hearty and delicious!

Ingredients
- Active dry yeast
- Whole-wheat flour
- All-purpose flour
- Warm water
- Sugar
- Salt
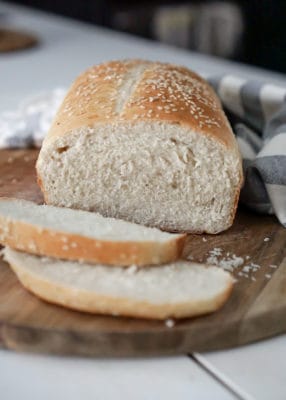
Whole Wheat Bread
A basic whole wheat bread that the whole family will love. Recipe comes with tips on perfecting basic bread skills.
- Prep Time: 2 hours 30 mins
- Cook Time: 30 mins
- Total Time: 3 hours
- Yield: 1 loaf 1x
- Category: Breakfast
- Cuisine: American
Ingredients
- 2 teaspoons active dry yeast
- 1 1/2 cups warm water
- 1 Tablespoon sugar
- 2 cups whole wheat flour
- 1 to 1 3/4 cups all-purpose flour
- 1/4 teaspoon salt
Instructions
- Combine warm water, (like bath water or 110˚F) yeast and sugar together in a large mixing bowl. Let rest for approx. 5-10 minutes until mixture is frothy and has formed bubbles.
- Add whole wheat flour and one cup of the all-purpose flour and salt. Using a stand mixer with the dough hook attachment beat at medium speed for about a minute. If the dough is extremely sticky add all-purpose flour 1 tablespoon at a time, be careful not to add too much flour. Continue to beat for another 6-8 minutes until dough no longer sticks to the side.The dough is kneaded when smooth, feels slightly tacky and springs back when poked.
- Grease a large bowl, place the dough in the middle, turn the dough to cover in oil. Cover in plastic wrap and leave dough to double in size in a warm draft free place approx. 1 – 1 1/2 hours.
- Grease 8×4-inch loaf pan and set aside.
- Once doubled in size turn out dough onto a slightly floured work surface. Punch dough down and flatten into a rectangle. Fold dough like a letter, pinch closed. Fold in half and pinch seams together. Invert the loaf into the pan, seam side down. Cover with plastic and let rest until loaf is doubled in size, approx. 40 minutes.
- Heat the oven to 425°F about halfway through the second rise. Place a cast iron pan in the bottom of the oven while oven is heating.
- Once the loaf is ready to bake score/slash the top with a sharp knife or a razor blade. This is so it rises evenly in the oven.
- Place the bread in the middle of the oven. Carefully pour some water into the cast iron pan (expect it to bubble and steam) and quickly shut the oven door to keep the steam inside the oven. This will help create a crusty loaf.
- Turn the oven down to 400˚F and bake for 26 to 35 minutes, or until the bread sounds hollow when tapped and is a deep golden brown colour.
- Transfer bread to a cooling rack to cool. Let it cool completely before slicing (otherwise it can be doughy in the middle).
Nutrition
- Serving Size: per slice
- Calories: 173
- Sugar: 2g
- Sodium: 60mg
- Fat: 0.3g
- Saturated Fat: 0
- Unsaturated Fat: 0
- Trans Fat: 0
- Carbohydrates: 37g
- Fiber: 1.6g
- Protein: 5.1g
- Cholesterol: 0
You may also like:


Leave a Rating and Comment!
I love hearing from you! Leave a comment with any questions or how your recipe turned out (your email address will not be published)!